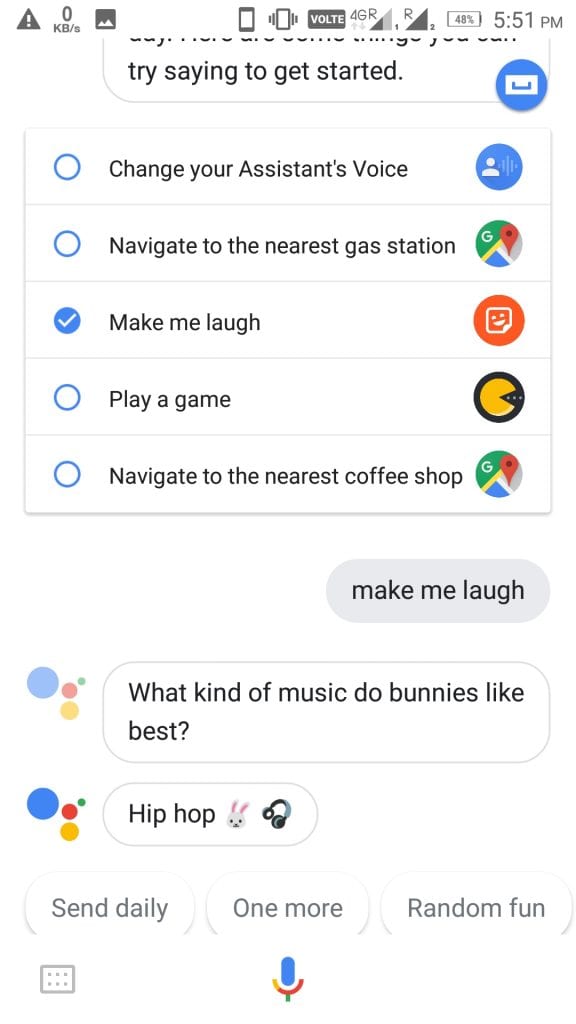
This is the era of voice assistant ruling the Tech arena. With the arrival of Amazon’s Alexa and Google Home competition among the two tech giants is very tense. But, Google has one advantage over the Amazon is their Google assistant on Android devices. Google packed this voice assistant with their pixel smartphones very smoothly but other Android users have waited till Marshmallow to get this feature on their device. Still, some devices don’t feature Google Assistant so what to do to get it instantly on your device? We have a solution, the users who don’t have Google Assistant yet. You just need to follow this simple steps to Install Google Assistant on Android Without Rooting.
Steps to Install Google Assistant on Android Without Rooting:
Before starting with the steps we need to tell you that we have tested this method and it is 100% working. And keep one thing in mind that this process works on Android Marshmallow and above versions.
Also Read: Simple Home Automation Technique Using Google Assistant And IFTTT
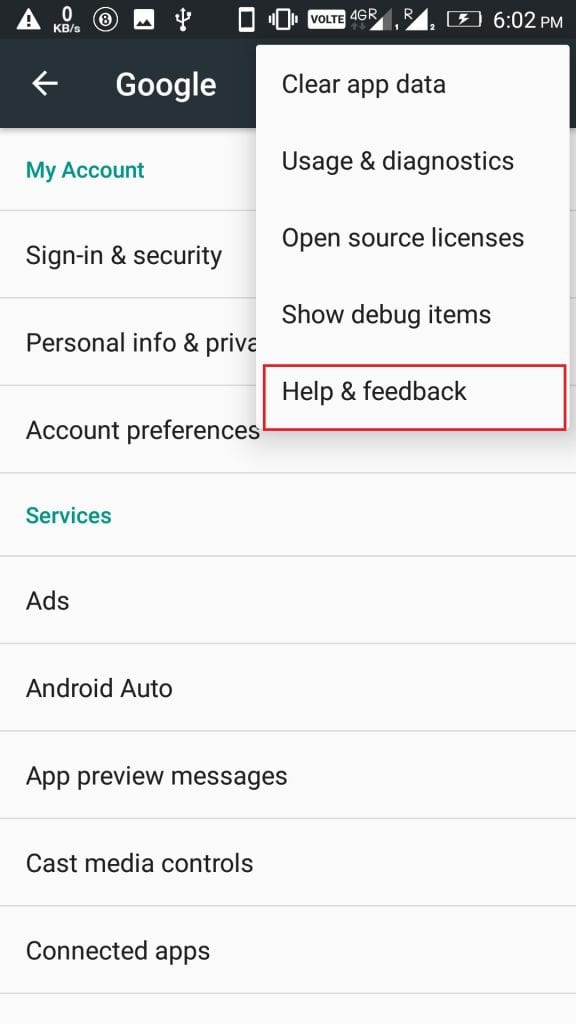
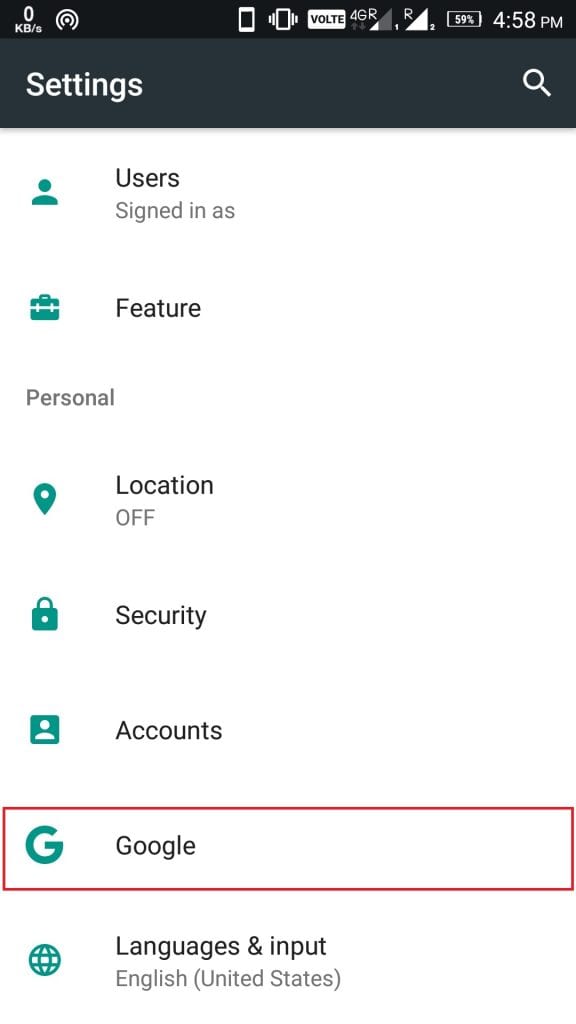
Step 1: To get Google Assistant on your device firstly you need to have Beta versions of Google App and Google Play Services. To do so, Go to Settings -> Google, then tap on the three-dot button on the top right corner and click Help & feedback.
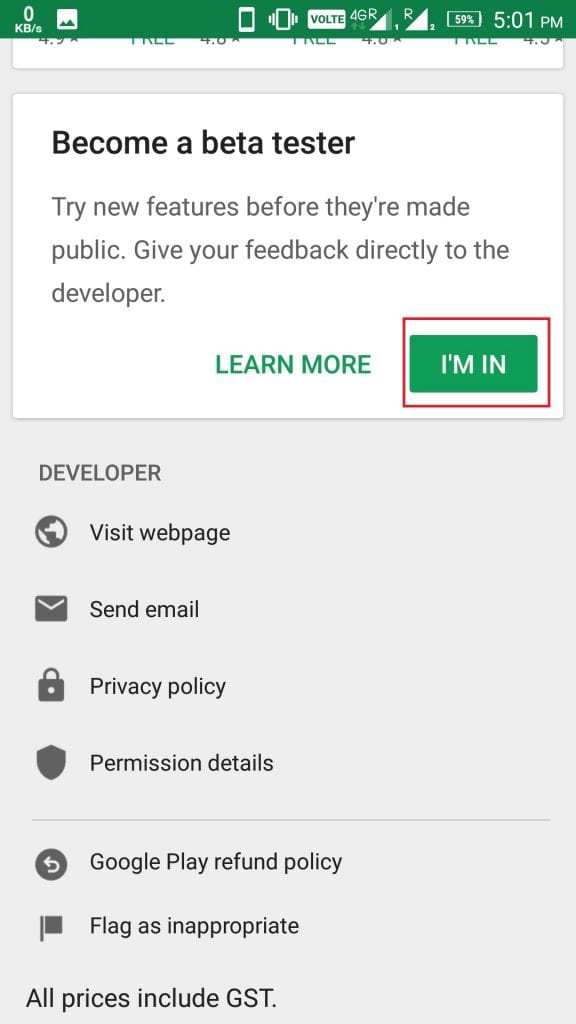
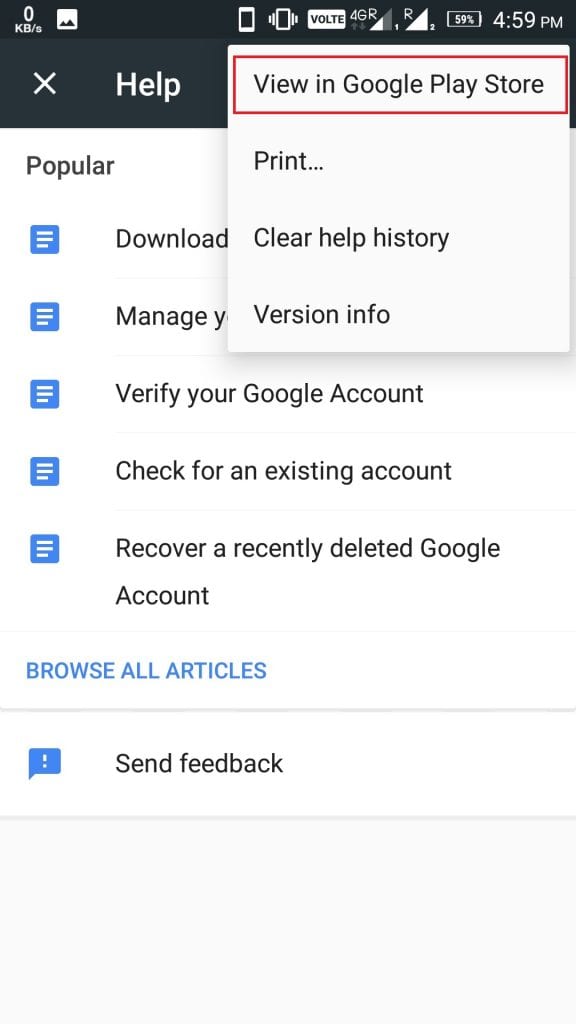
Step 2: Now, in the Help section tap on the three-dot and click on View in Google Play Store. It will direct you to the Google Play Store of Play Services where you need to scroll down and click on the option I’M IN in Become a beta tester section.
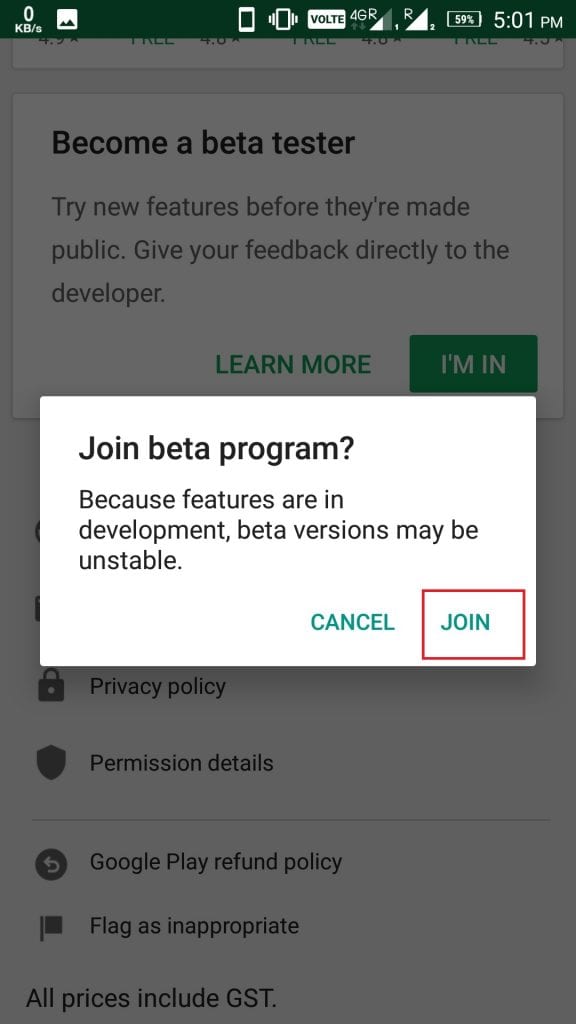
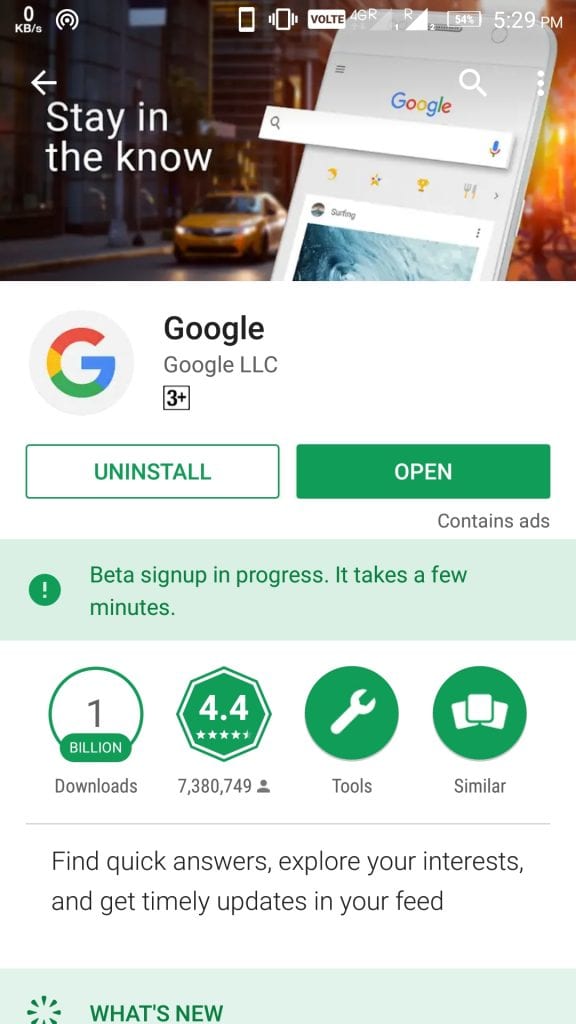
Step 3: After that tap on JOIN which will start your sign-up process. Wait until the completion of the signup process.
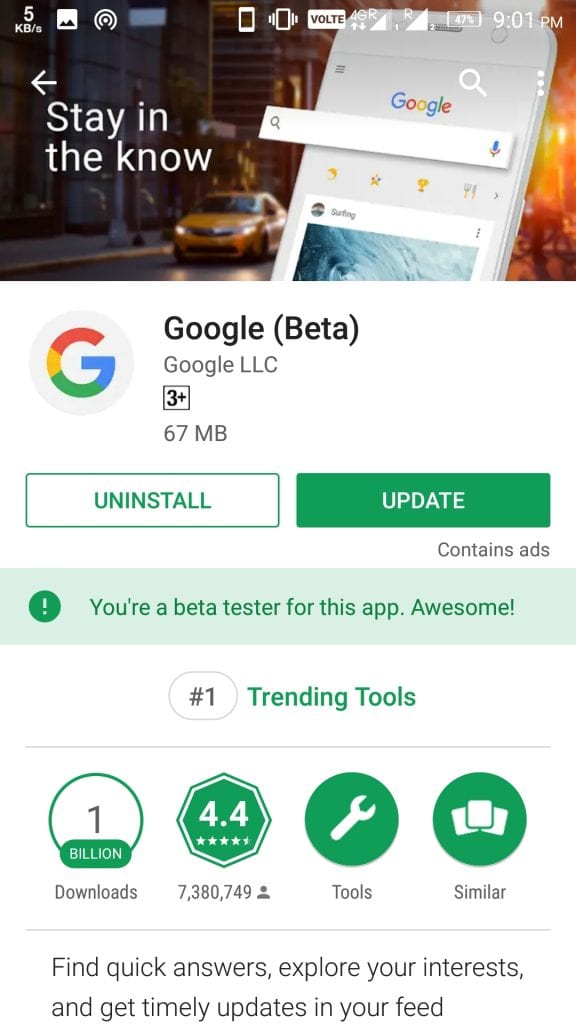
Step 4: Now, go to Google Play Store and search for Google app and complete beta signup for the same.
Step 5: Once all the above process is done then again head towards Google Play Store. Now Go to My apps & games -> Beta where you will see Google and Google Play Services update both of them if not updated.

Also Read: 8 Must-Have Apps for Your Android TV
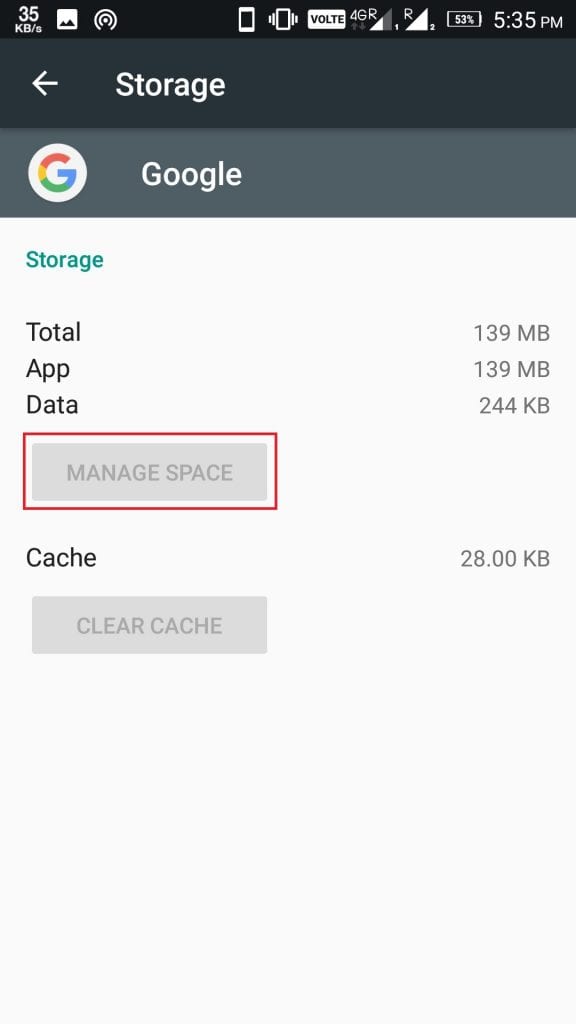
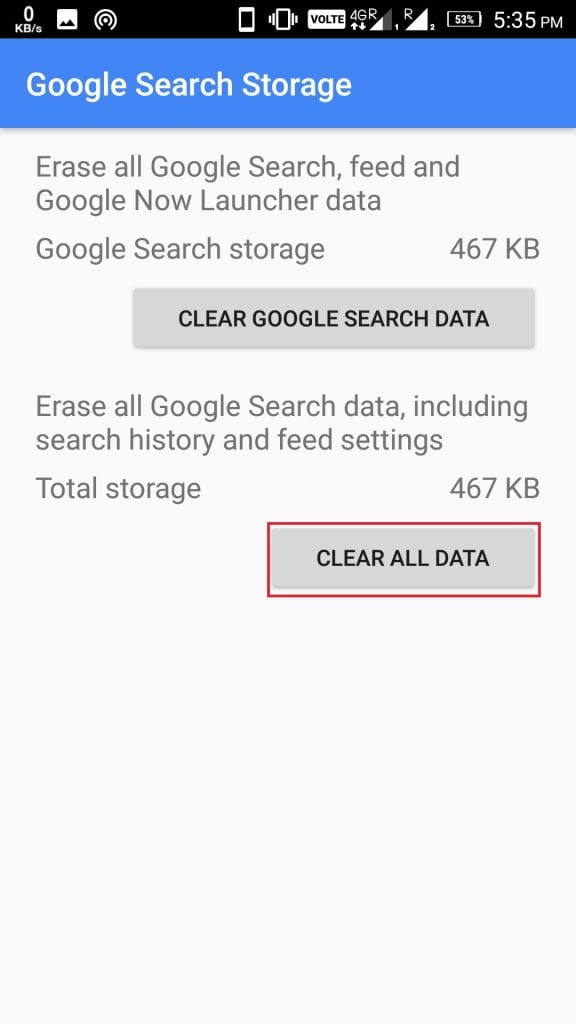
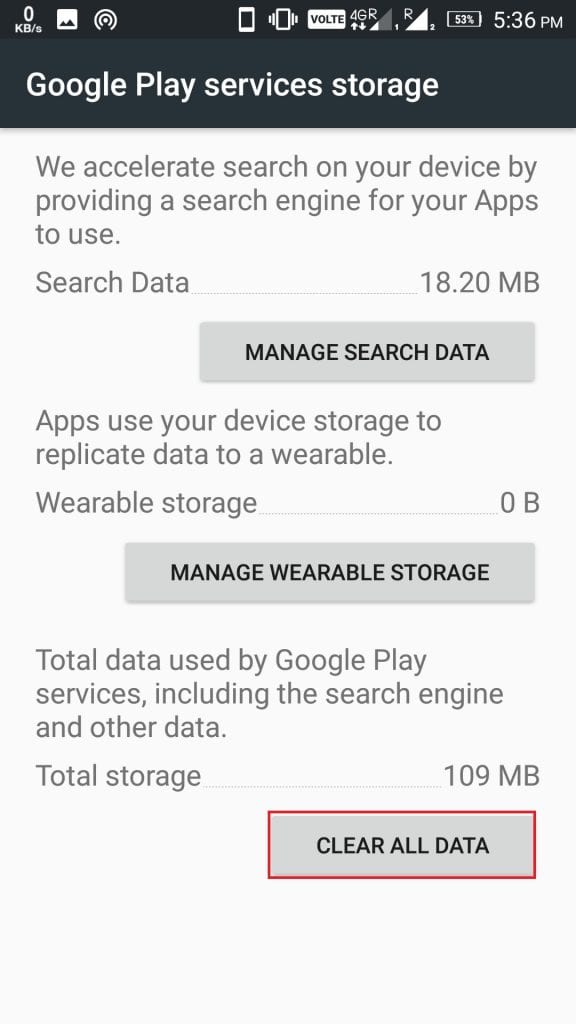
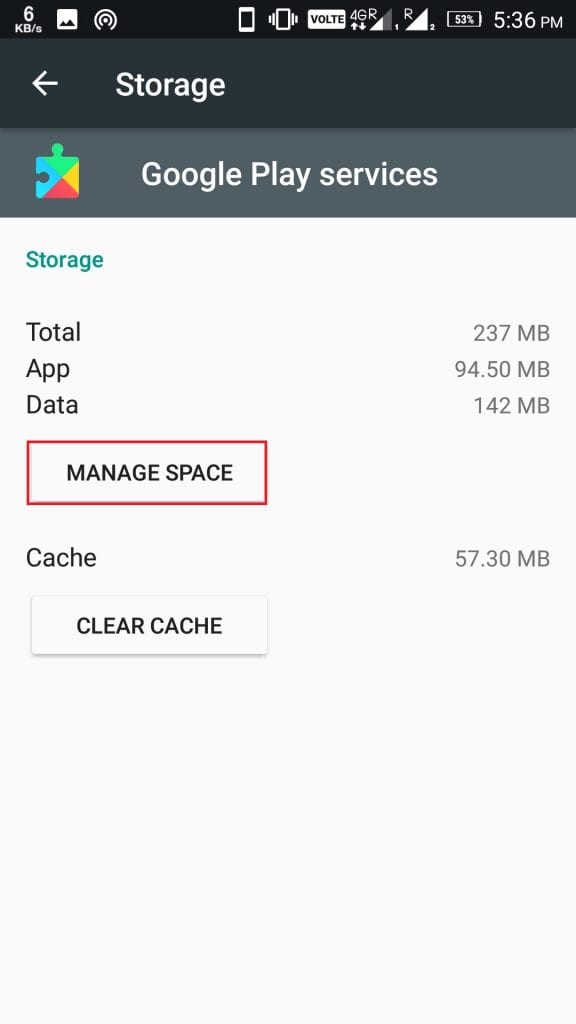
Step 7: Do same for Google Play Services that is Settings -> Apps -> Google Play Services -> Manage Space and finally tap on Clear All data.
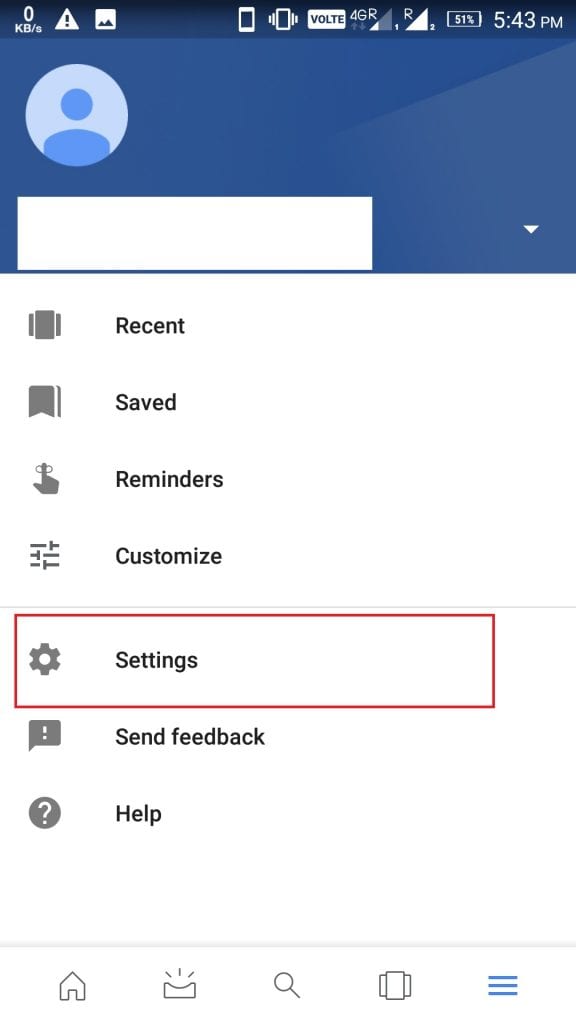
Step 8: Once all the above process is complete then open the Google app where you need to go to the Settings.

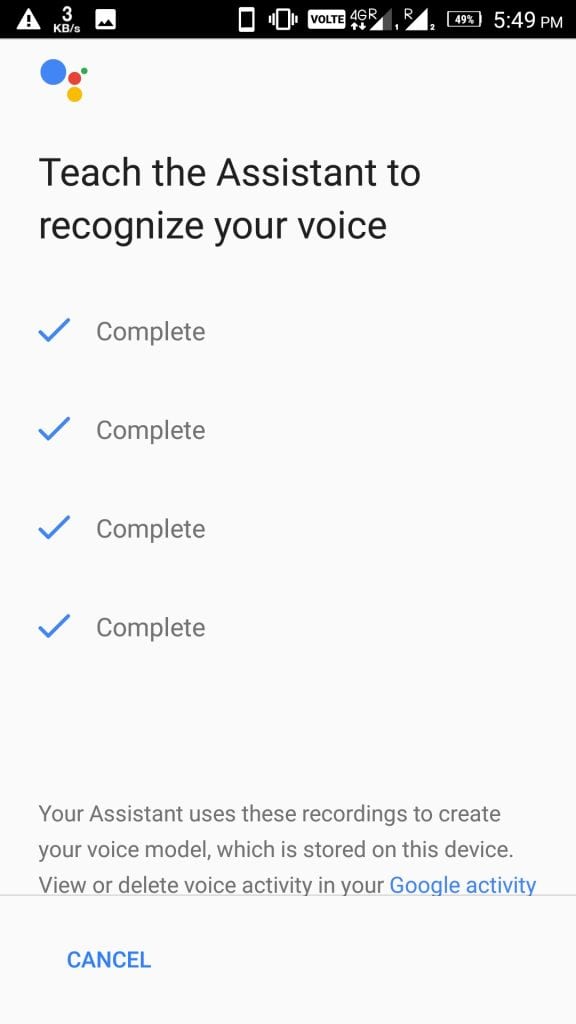
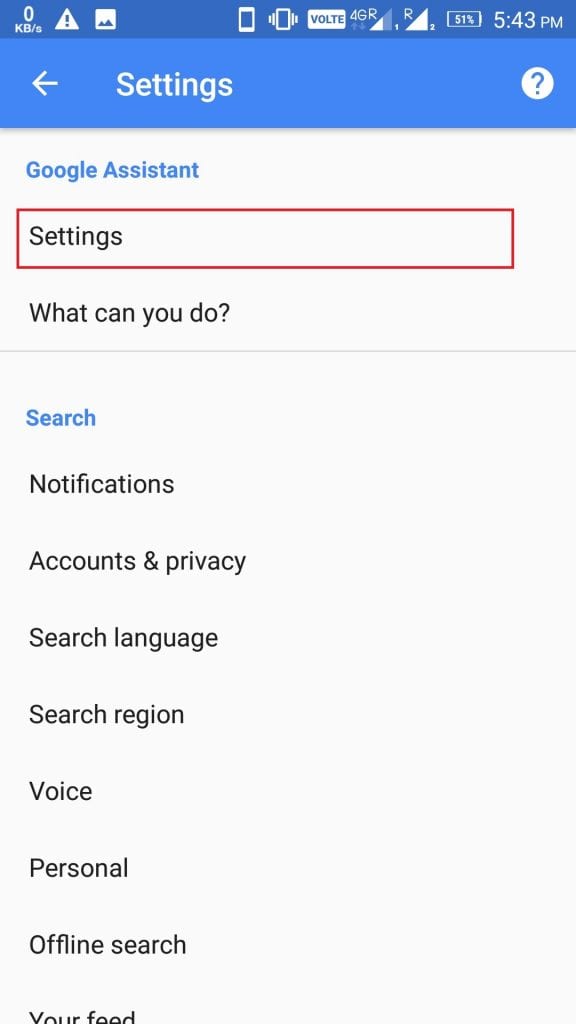
Step 9: Now you will be headed towards Google Assistant settings where you need to click on Settings. And follow the steps according to the instructions it may ask for Teach the Assistant to recognize your voice where you will have said the command multiple times.
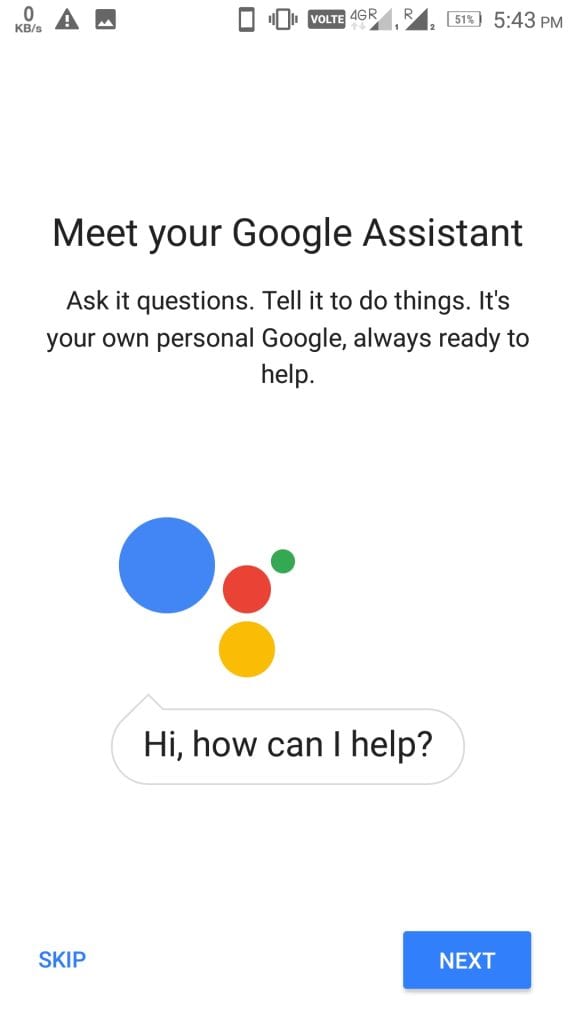
Finally, all the set-up process is completed and now you have full fledge Google Assistant you just need to hold home button till Google Assistant appears. You can do many things like ask assistant What can you do it will display lists and respond to your voice. Other stuff like say Play the music and specify the name of the song it will play but make sure you give access to the music library. If you haven’t given the access just say Play the music it will display settings to give access. Similarly, you have a lot of cool stuff like weather, reminders, news and more. Just explore it.
Conclusion
So, that is it we have shown the steps to Install Google Assistant on Android Without Rooting. If you have any query following these steps then do comment in the comment section. We will reply as soon as possible.
Also Read: How to Quickly Create and Send GIFs on WhatsApp for Android
