Microsoft PowerPoint is a popular software which was developed by the team Microsoft. Microsoft PowerPoint is one of the powerful components in the suite. In the world of Microsoft, PowerPoint has taken the grand position when it comes to any kind of Presentations; starting from high profile International Company Standards to any small cottage based industry. You can simply design whatever you want to represent from your mind and that also with a lot of features, effects, titles, subtitles, tables, diagrams, charts, etc. You can even attach any files from different sources through Microsoft Powerpoint. Among many features of Microsoft PowerPoint, one of the most important and necessary factor to learn is; how to edit and resize images using Microsoft PowerPoint.
The Power of Presentations
When it comes to presentation, you need to be very sure about the outlook. The more you make your presentation innovative, decently designed and brief the better for your portfolio. Most of the people think that image editing and resizing can be done only by downloading image editing software like Adobe Photoshop, GIMP, etc. But, you should be informed that it is also possible through Microsoft PowerPoint.
Must Read – Free Photoshop Alternatives
The difference is that in Software like Adobe Photoshop or GIMP the image sizes are represented in pixels. But in PowerPoint, they are represented in inches. As a result, the resolution of the images is represented in Dots Per Inch (DPI) whereas; in other image editing Software, it is represented in Pixels Per Inch (PPI). You can easily customize any of the images according to your choice through Microsoft PowerPoint. The steps and formulas are actually much easier and user-friendly.
Steps to Resize Images Using Microsoft Powerpoint
Step 1: Image unit conversion
The first step for resizing the image through Powerpoint begins with the conversion of the image’s unit from pixels to the inch. There is a formula for this conversion:
Pixel / Pixels per inch
As soon as you get the value of the image size to which it is required to be resized; you can now use that value for your PowerPoint.
Example:
Now, you can get a clear idea about how to substitute the values to the formula through this example. Suppose you have an image where you need to resize the image size with a width as 800 pixels and height as 650 pixels.
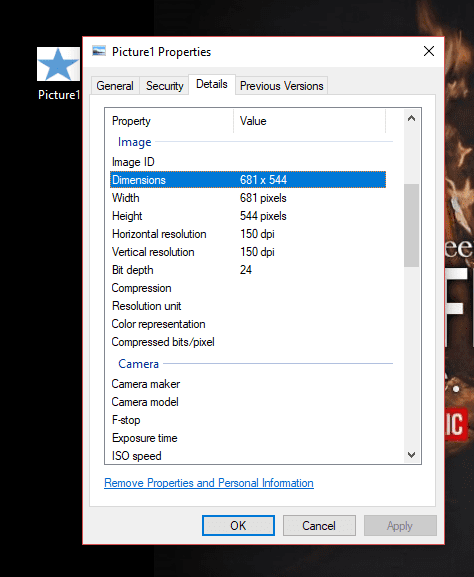
Then, look at the provided image resolution. Suppose, you got the resolution as 150 PPI. You need to find out the inch value of the image using the image unit conversion formula as said in the above section.
Divide the provided image height and width by the provided resolution individually:
- Image height (650)/ resolution(150) = 5.33 inches
- Image width (800)/ resolution (150) = 4.33 inches
You have now got the inch values of the height and width of the image you need to resize which is represented as (5.33 * 4.33 inches).
Step 2: Finding the image resolution
As you have already informed that the resolution of the image is represented as PPI (pixels per inch), thus you need to get the actual resolution of the image. Here is the step below:
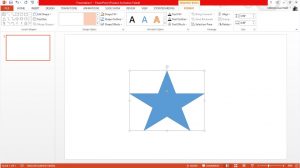
- First, you need to select and Insert an autoshape from the Insert Menu of the toolbar.
- Put your mouse pointer on the inserted autoshape and do a right-click.

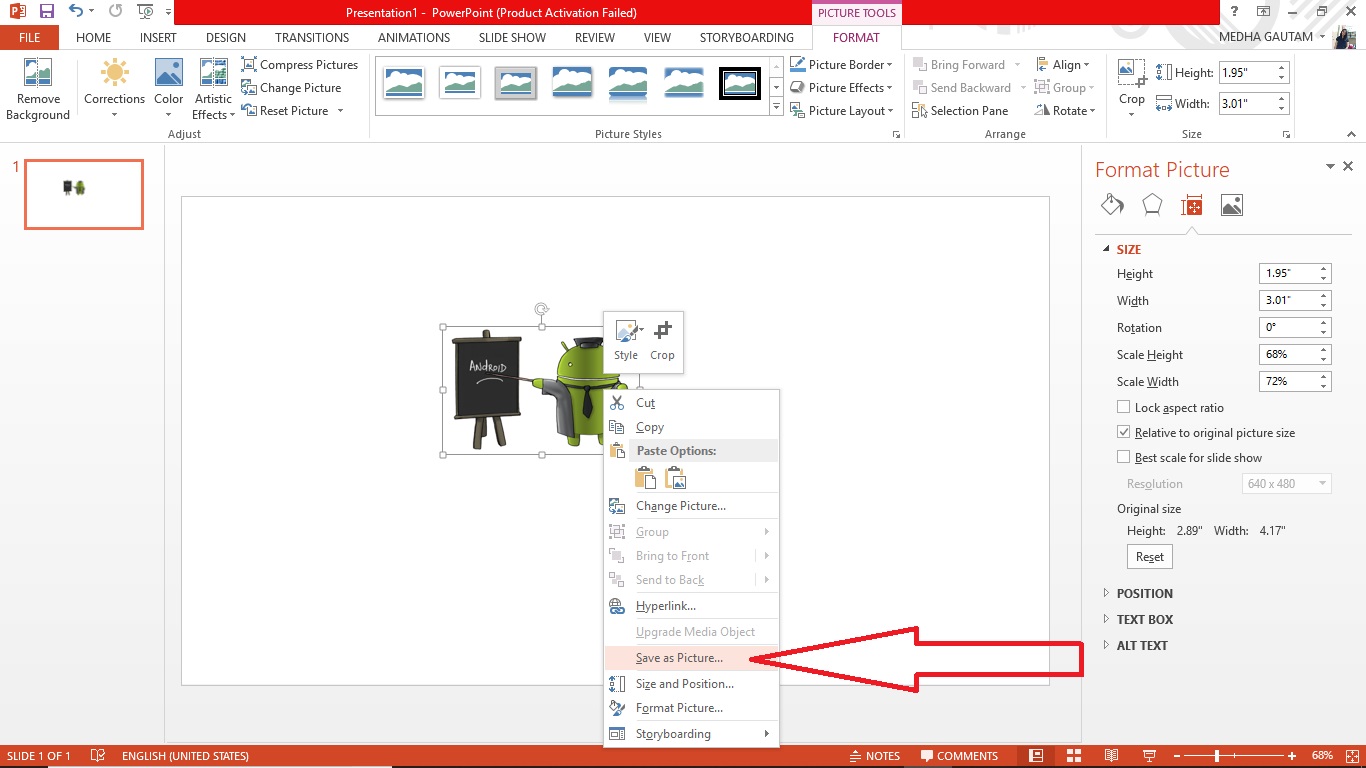
- Now go to the File menu of the toolbar and choose for the “Save as” option.

- You can get a dialogue box appearing in your screen. Go to the bottom right corner of the dialogue box and select the Jpeg extension for saving the picture.
- As the image is now saved, you can easily find the resolution of the image by simply placing the mouse pointer on the image. If you cannot find it by any chance, do a right-click on the image and go to the “Properties”. There you can get all the details of the image.


Example:
- Suppose you are willing to resize images through Powerpoint. You need to use the above-mentioned steps.
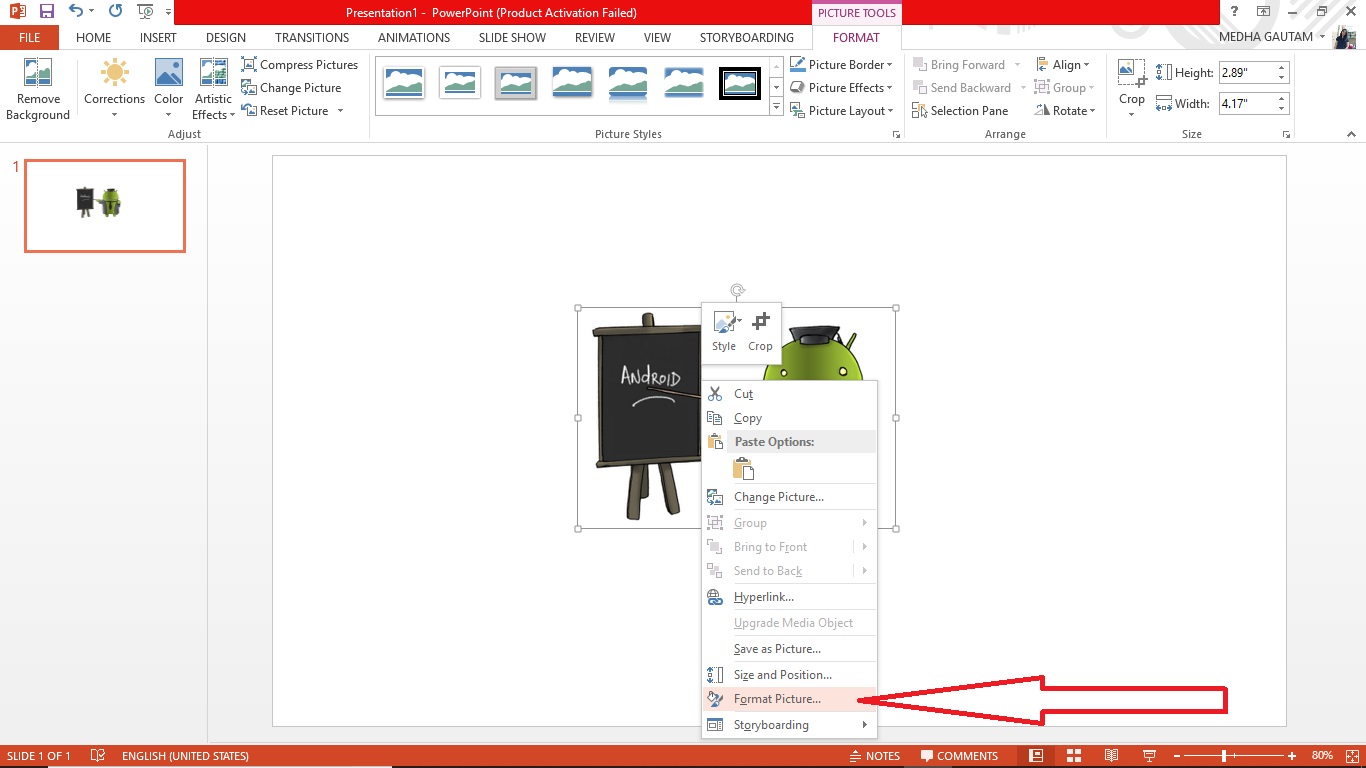
- First, you have to insert any of the images you need to resize.
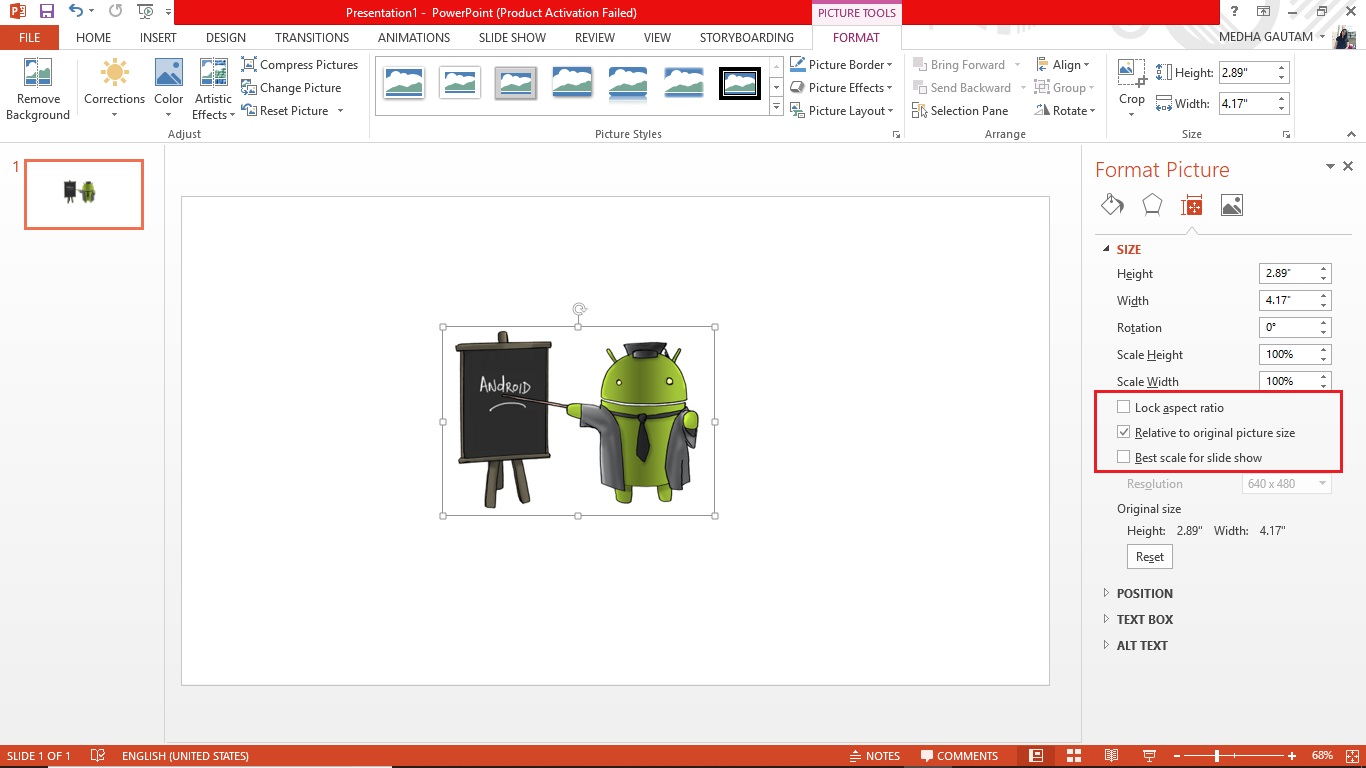
- Click at the picture formatting pane.
- You can find an option “Lock aspect ratio” which will be seen as automatically selected. Deselect that option.
- You also need to select the option “relative to original size”.
- Now, you need to use the previously calculated height and width inch values.
- If you are not required to use any particular size; then you can also crop the image according to your wish.
- When everything is done, click at the File menu to save the image. Go to the “Save As” option.
- Select for the Jpeg format for the image and save your image.
You are all done with the procedure of how to resize images by the Microsoft PowerPoint.
Also Read: How to take a Screenshot in Windows 10


