If you have ever gamed online with your friends, you probably know about Discord. The platform provides a free service which allows you to chat with your friends while you are gaming with a ton of other features. Discord has about 100 million users registered on the platform. Discord is arguably the best chat platform out there. The service provides you with the flexibility to use it from the Desktop client or even from the web. Moreover, Discord supports all Platforms including Windows, macOS, Linux, Android and iOS. Discord can inform you if your friends are having fun online playing games or not. You can setup a Discord server which supports low latency voice chats with your friends with the added functionality of video calling and screen sharing.
Well, as it turns out Discord is much more than a host of chat features while gaming. The platform allows you to add bots to your server which can maximize productivity on your server. These bots can be used to fetch important data, delivering notifications, getting events lined up and much more. You might be saying “Okay, now I know that bots can be added to a Discord server, but how do I add them?” Don’t worry we have got your back.
In our today’s guide, we are going to walk you through the process of adding bots to your Discord server. Adding bots to your server is pretty much fun and you must know it if you are a gamer. Let’s get moving and add some bots to your Discord server.
Adding bots to your Discord Server
Well, adding bots to your Discord server is pretty easy if you go through the steps. But sometimes the process can be a little difficult when you are doing it for the first time. You can add as many bots you want to your server. We would also be including a list of available bots on the web. So, do check them out. There are hundreds of bots available online that can be added to your Discord server. You can choose any one of the bots and get started with the following steps:
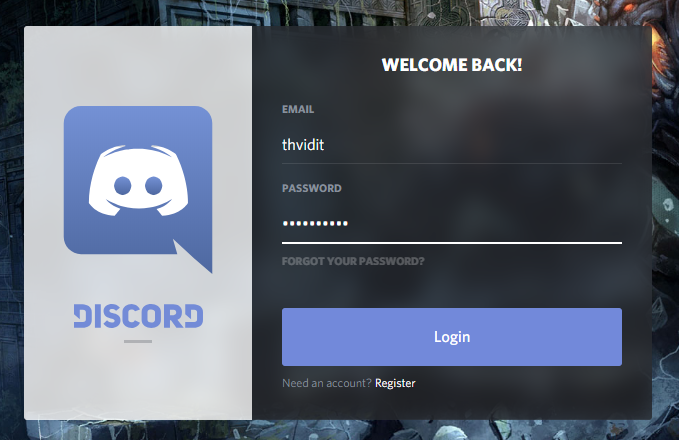
- Open discord from your machine if you have a Desktop client otherwise just Log in through the web on Discord.
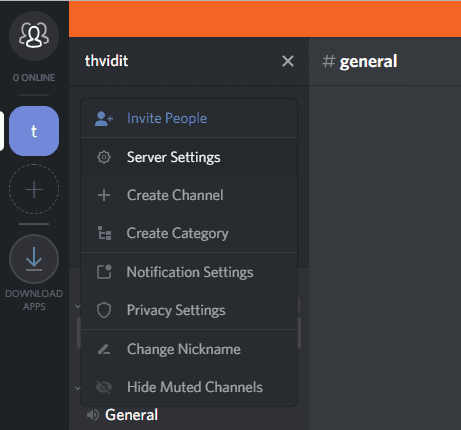
- Head on to the server settings and check the Manage Server option.
- Finalize a bot which you want to add and click on Add Bot.
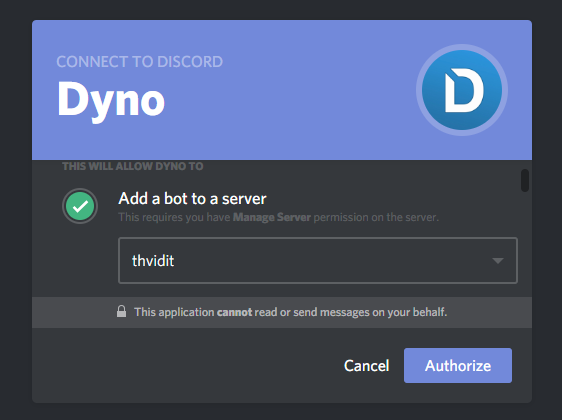
- The final step requires you to Authorize the bot to be added to your Discord account.
We have further explained the whole process below. You can follow them up to accomplish your goal!
Logging into Discord account
You can login into Discord from either your Desktop client or straight from the web. If you haven’t registered on the platform, simply register and login. Furthermore, If you don’t already have a server you can add one by clicking on the “+” icon. Just give a name to your server and hit create.
Check Manage Server permission from the dashboard
After you have your own server. Head on to your server on the left side marked by the initial letter of your server name. Right-click on the server icon. A menu will pop up where you will find an option of Server settings. Click on the option and their you will have the Manage Server option. Grant the permission to manage server and we are good to go. You can enable other options too depending on your needs.
Choose a bot and authorize it
You can select bots which are available in large numbers on the web. Just find the bot which you are interested in and click on Add bot to the server. Some websites also offer an Invite option instead of Add bot, don’t worry it’s the same. Now the page will ask for your Discord credentials in order to be linked to your server. Select the server you want to add your bot too. Authorize the bot and the process stands complete.
Adding bots from Github
You can find a lot of bots on GitHub and some of them are really worth a try. Adding bots from Github is easy too. You can simply head on to the Github page of your bot and add it using the steps given there. The process is rather simple and you should not have many difficulties following them.
Also Read: 8 Best VoIP Chat Applications for Gaming
The process was pretty easy, eh? Well, if you liked the post and think we deserve some love, Share this article with your gamer friends.


