Nexus or Pixel phones actually are among the few that have several ways of receiving updates. Some are easier, some are faster, but all are available to you. Here’s how to manually flash or update yours.
Firstly…
It is recommended that you have previous knowledge of working with the Android SDK (software development kit) and Terminal (OS X or Linux) or Command Prompt (Windows), as there is a possibility to harm your device if something went wrong in the following process.
Software Requirements:
- Minimal ADB & Fastboot Tools
- Windows – Tools here (system-wide)
- Guide to Install above tools – here
- Mac – Tools here
- Extract and Copy ADB and Fastboot to a Separate folder on the desktop
- Download your Pixel or Nexus Firmware from – here
Hardware Requirements:
- Android(Nexus/Pixel) Mobile/Table
- PC running Windows or MacOS
- Mobile/Table Data Cable
Enable developer settings and USB debugging:
- Go to your “Settings” and scroll down to “About Phone/Tablet”.
- Tap on the “Build number” seven times until you see “you are now a developer” at the bottom of your screen.
- Go back to the “Settings” menu and you should find a new option called “Developer options”. Click on the Developer options.
- Turn on “USB Debugging”.
- If you are upgrading a device running lollipop or above, make sure you have selected “Enable OEM Unlocking”.
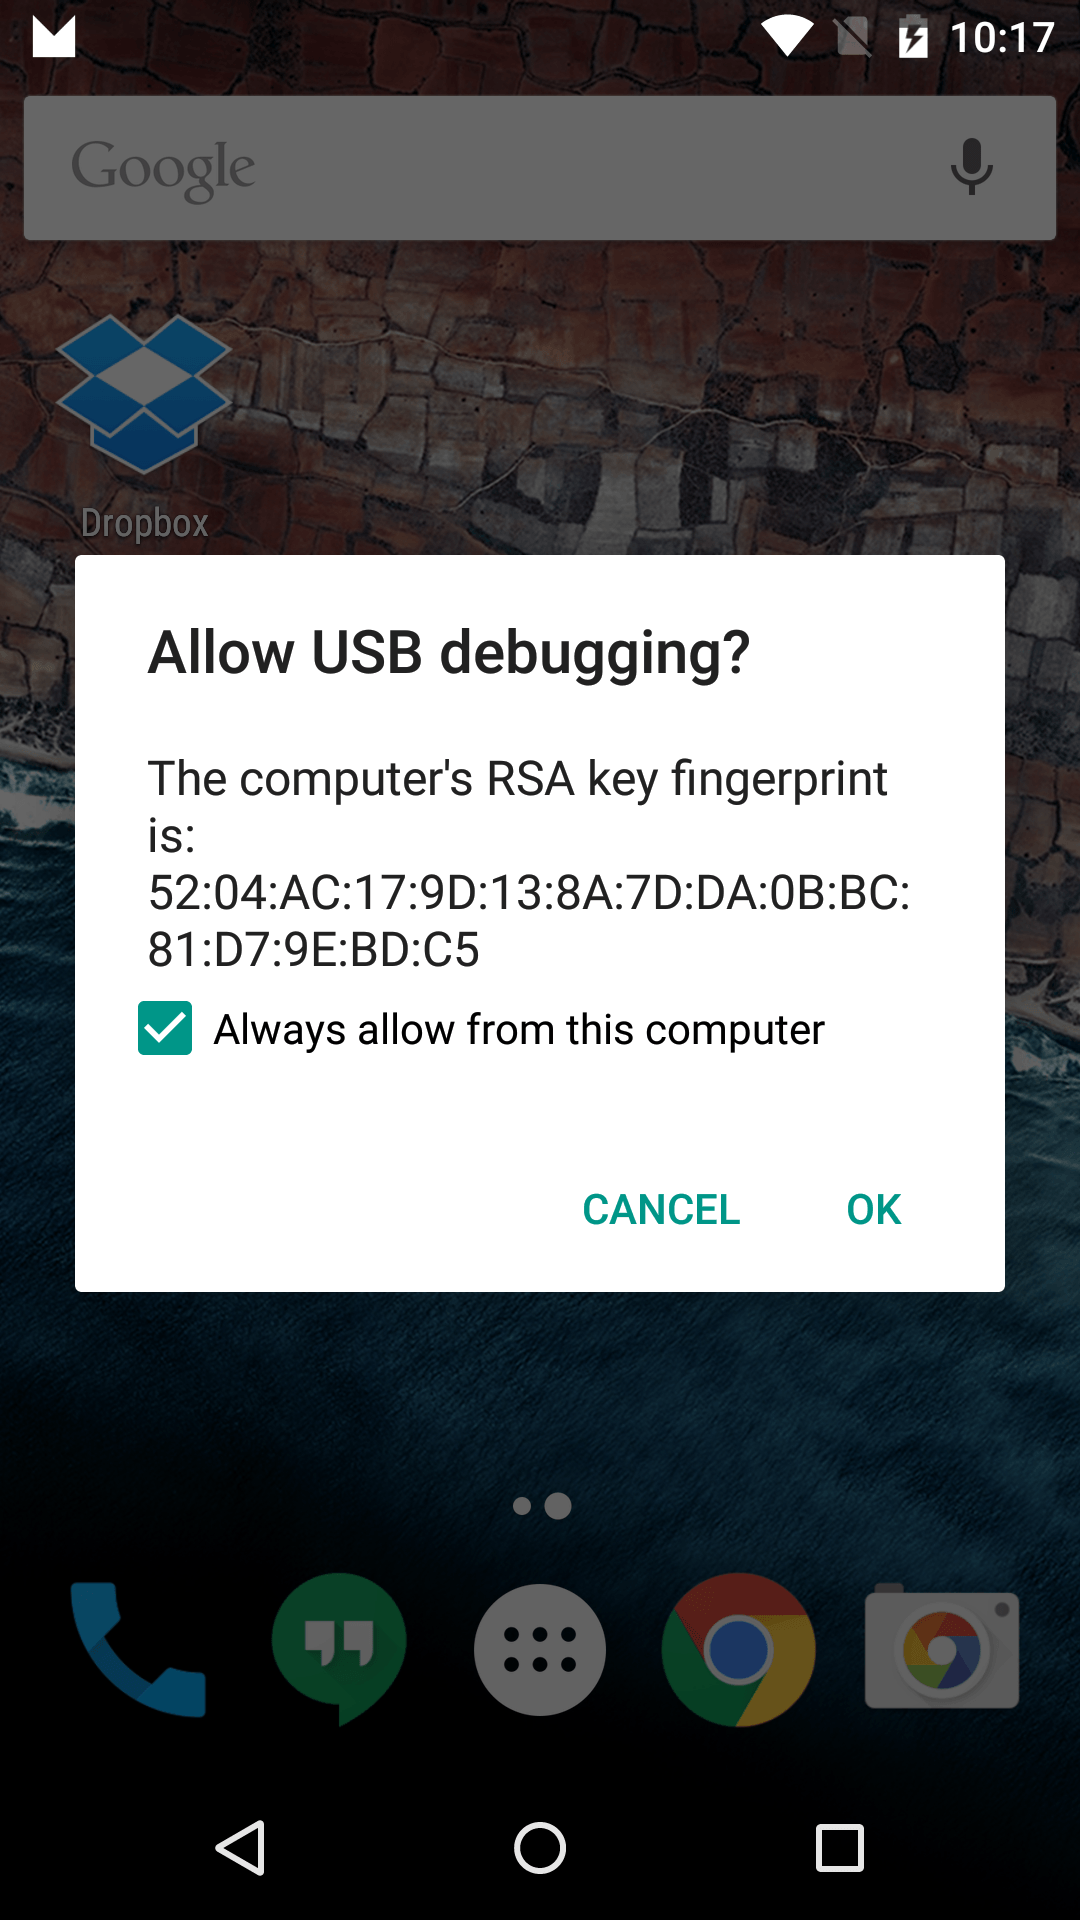
- Plug in the device to the computer and click “OK” on the dialog box that is asking you to Allow USB debugging (RSA Fingerprint) while connected to the computer. You should also select to always allow access to that computer.
This is everything that needs to be done on your tablet or mobile for now. Proceeding to the next step –
Unlocking your bootloader:
To do this you must first boot into your bootloader. You can either turn off your phone or tablet manually and hold down the power button and the volume down button to enter the bootloader menu on your device or you can enter the following commands into your terminal or command prompt.
[To run these command on Mac – Kindly navigate to the folder where you have saved your ABD and Fastboot files as I mentioned above and Place all your firmware package extracted files in the same folder as well]
{All the commands I have provided are for working with terminal, you can use the same commands for windows just remove ./ from the commands.}
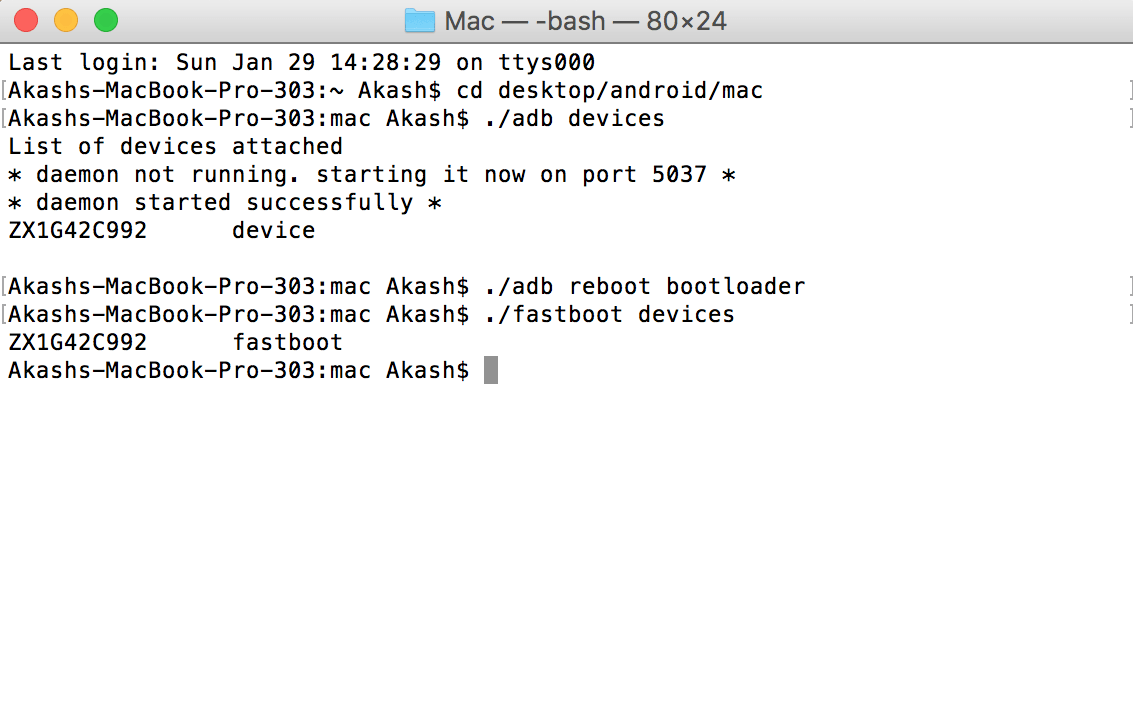
1. To check if the devices is Connected properly to the system or not –
./adb devices
2. Now to enter into the Bootloader menu just run the following command –
./adb reboot bootloader
3. To unlock the Bootloader of your device (try both the methods) –
On older devices (pre-Marshmallow) use:
./fastboot oem unlock
OR
On newer devices use:
./fastboot flashing unlock
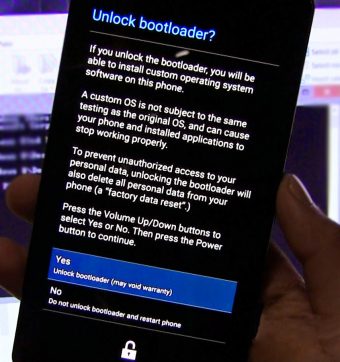
A dialog will appear on the device asking if you are sure about unlocking. This will factory reset your device, so if you want to back out of the process you just need to select no with the power button. If you want to unlock your bootloader you should press the volume up button and then the power button to confirm that you wish to unlock your bootloader.
Viola, Your Bootloader is unlocked!!
4. Last Step,
./fastboot reboot-bootloader
Reboot the bootloader just to give itself a check to make sure everything is working correctly before moving onto the next step.
Flashing the stock firmware image:
Make sure you are in fastboot mode (bootloader) and now follow these steps:
(Make sure you key in the commands in the same order)
1. To Check Devices connected in fastboot mode:
./fastboot devices
2. To erase all the data:
./fastboot erase boot
./fastboot erase cache
./fastboot erase recovery
./fastboot erase system
./fastboot erase userdata
./fastboot erase vendor
3. To Flash Bootloader:
./fastboot flash bootloader [bootloader file].img
./fastboot reboot-bootloader
4. To Flash Radio:
./fastboot flash radio [radio file].img
./fastboot reboot-bootloader
[Now if you want to flash the image package at once – ./fastboot -w update [image file].zip]
♦ Else, To manually flash all the system files
./fastboot flash system system.img
./fastboot flash boot boot.img
./fastboot flash recovery recovery.img
./fastboot flash cache cache.img
./fastboot flash userdata userdata.img
♦ For newer devices( Nexus 5X or newer)
./fastboot flash vendor vendor.img
♦ Finally,
./fastboot reboot-bootloader
./fastboot reboot
The device will now be rebooted and should be restored completely back to stock and will be unrooted.
Now if you want to lock the bootloader for warranty purpose, while in the fastboot mode after the above process run this command,
Newer devices – ./fastboot flashing lock
Or
Older devices – ./fastboot oem lock
Also Read: How to Install CamScanner for PC on Windows 8/8.1/10/7/xp and Mac


There is noticeably a bundle to know about this. I assume you made certain nice points in features also.