Convert anything to anything. That is indeed what the tagline of CloudConvert says. And it may not be just false bravado either. When you visit their website, the first thing which would shock you would be the number of file formats this conversion service supports. While it is easier to say many, the exact number is 218 according to them. In this article, we are going to explore this awesome online service.
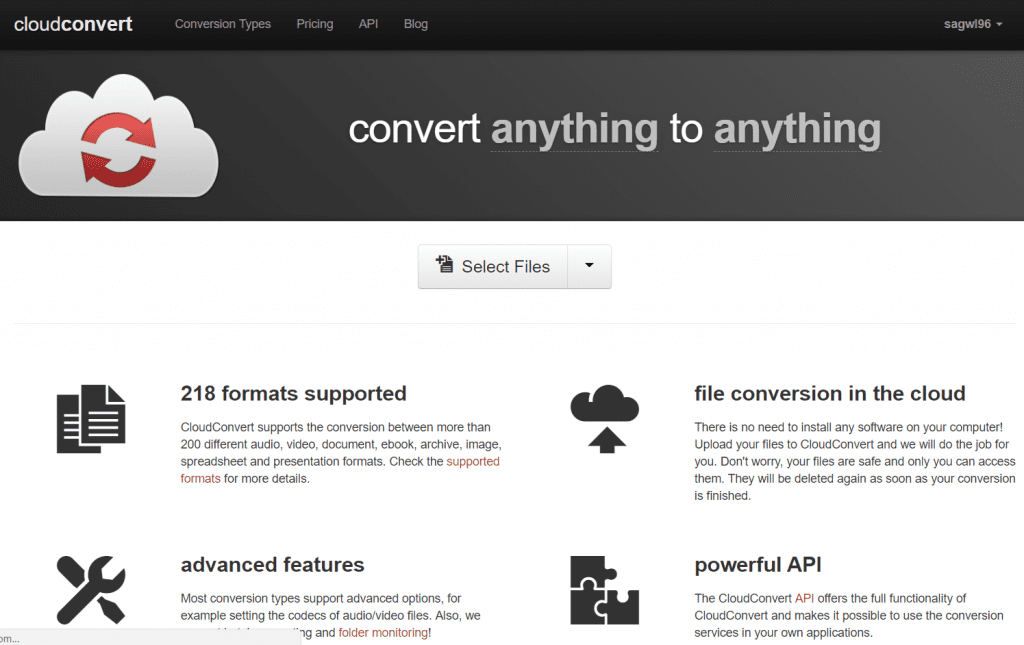
File formats supported by CloudConvert
While it is not feasible to mention all the file formats which CloudConvert service supports, we can still show you a glimpse of those.
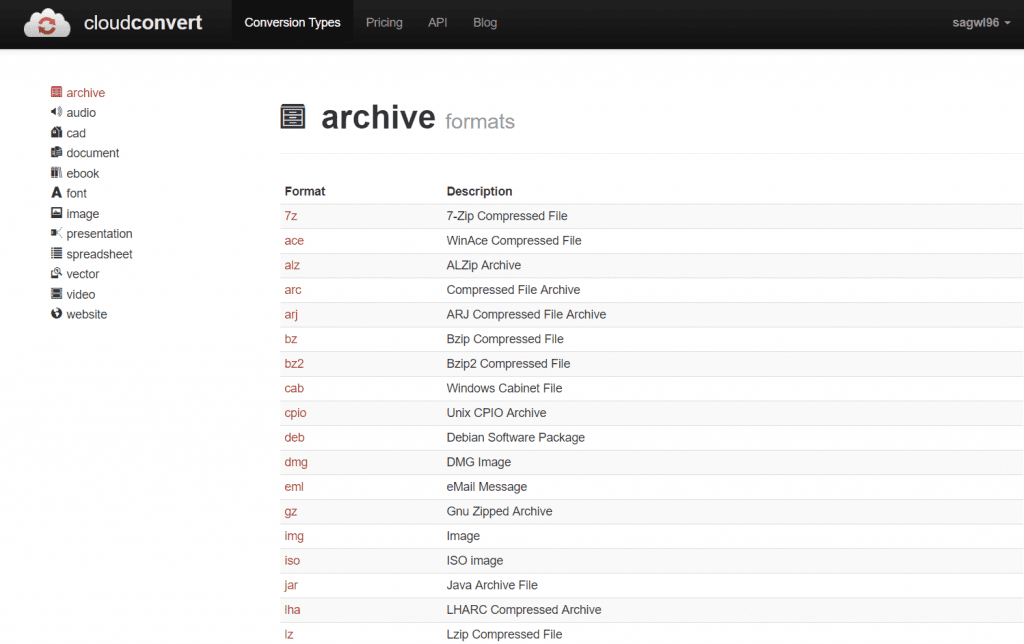
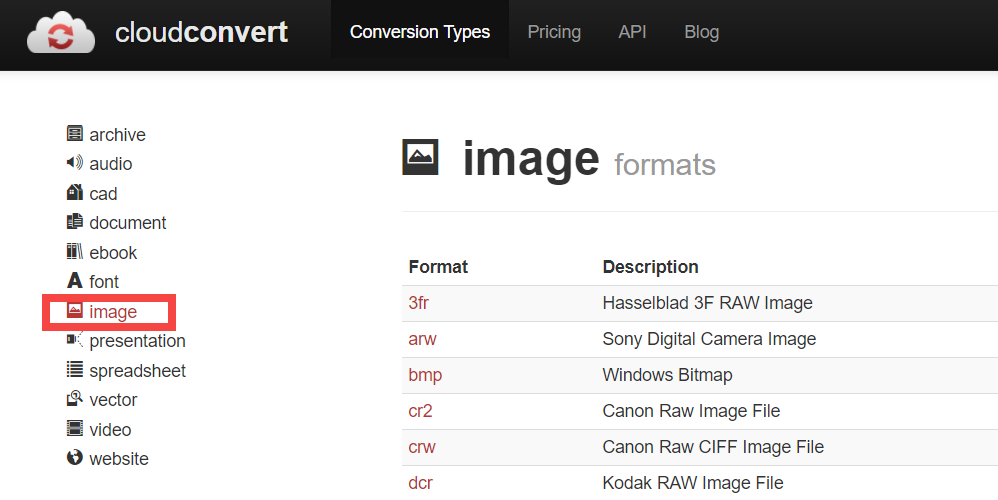
You can choose to scroll down to browse through all the available file formats. Or, you may click on the type of file from the list on the left and immediately scroll to that particular section. We are using the image option as an example in the image below.
If you click on any of the formats under the Format header, you will know the formats it can be converted to. You will also get to know the formats it can be converted from. Below is an image of what to expect if you click on jpg option.
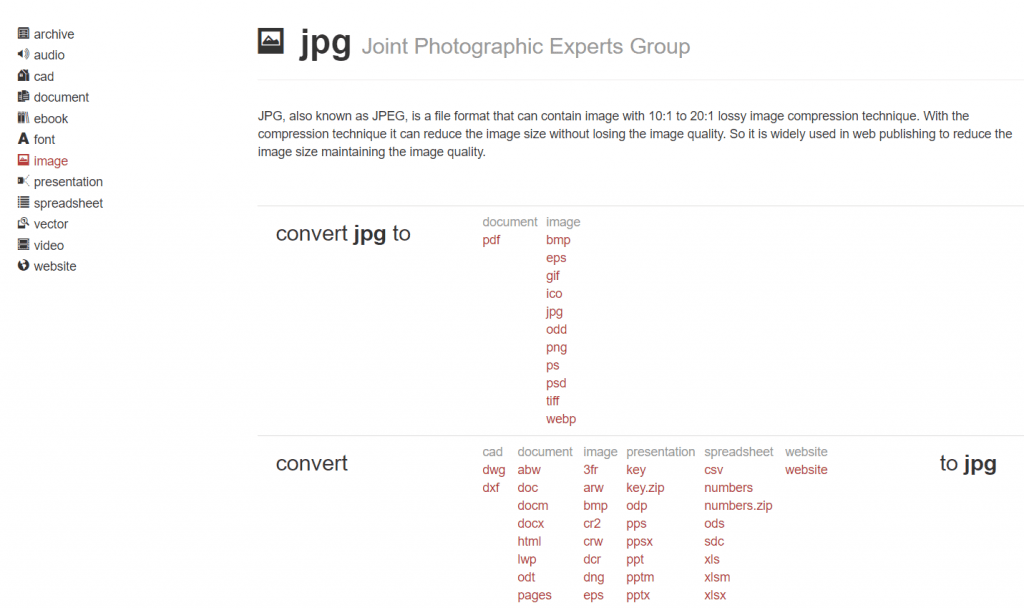
You can proceed to click on any of the formats. This will select the options for file conversion. For example, selecting pdf from the options of convert jpg to will by default set the file type to jpg and converted file type to pdf.
Conversion Process
It is easy to follow the above process to convert files. However, if you want to skip the whole process of searching for the individual file extensions, then you can follow the process as mentioned below.
1. Click on Select Files option.
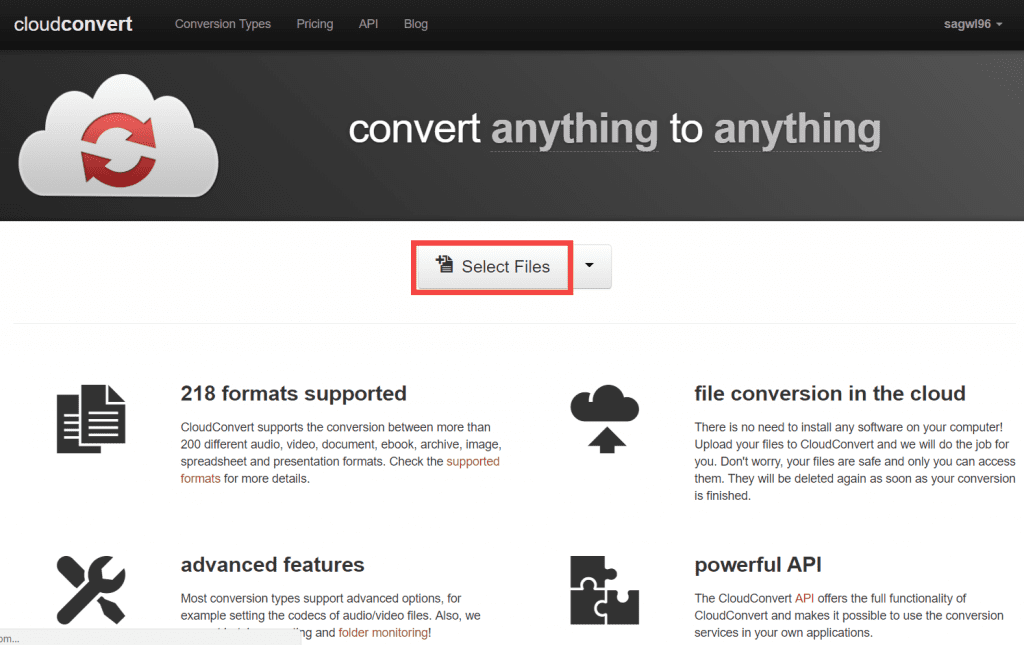
This will open a dialogue box as shown below. You can navigate to the file of your choice to convert.
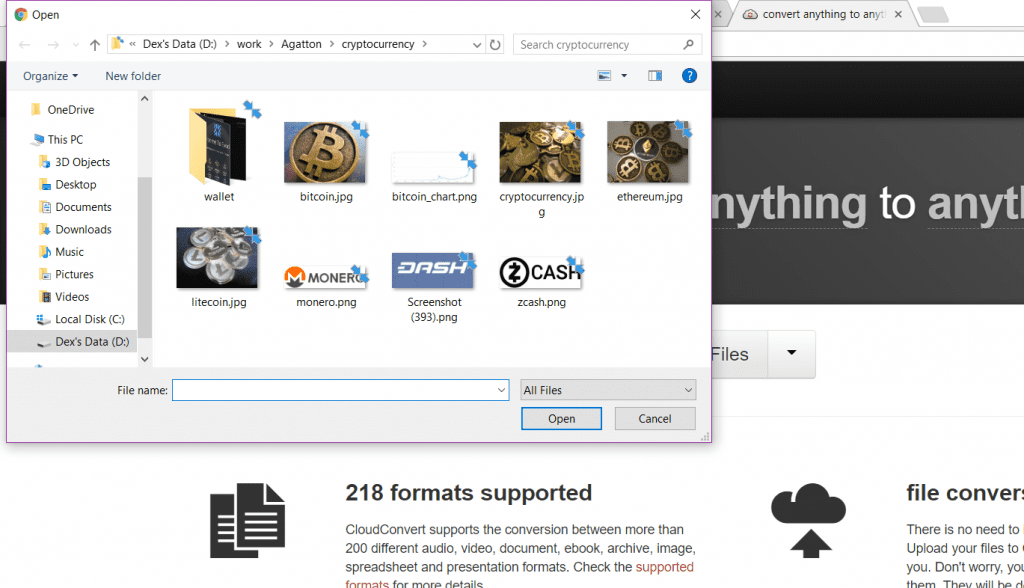
The website automatically detects the file type and presents you with available conversion options. One of the best things about CloudConvert is that you can directly select a file to convert from the various cloud storage services like Google Drive, OneDrive, etc.
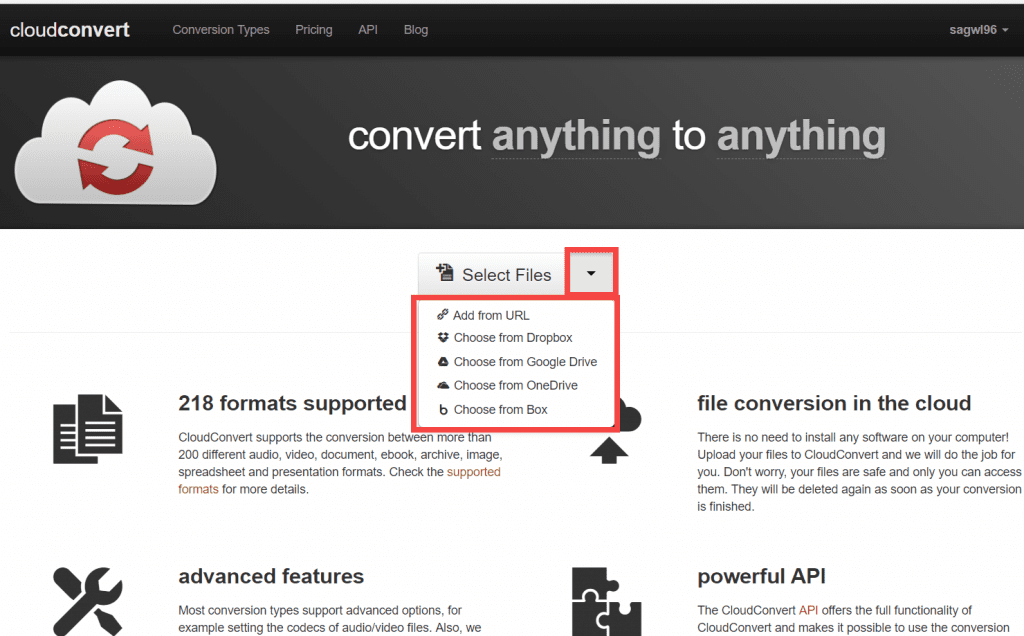
We are going to proceed with a local jpg image in order to walk you through the conversion process.
2. After the file selection is complete, click on the button to select the file type in to which the conversion needs to be carried out.
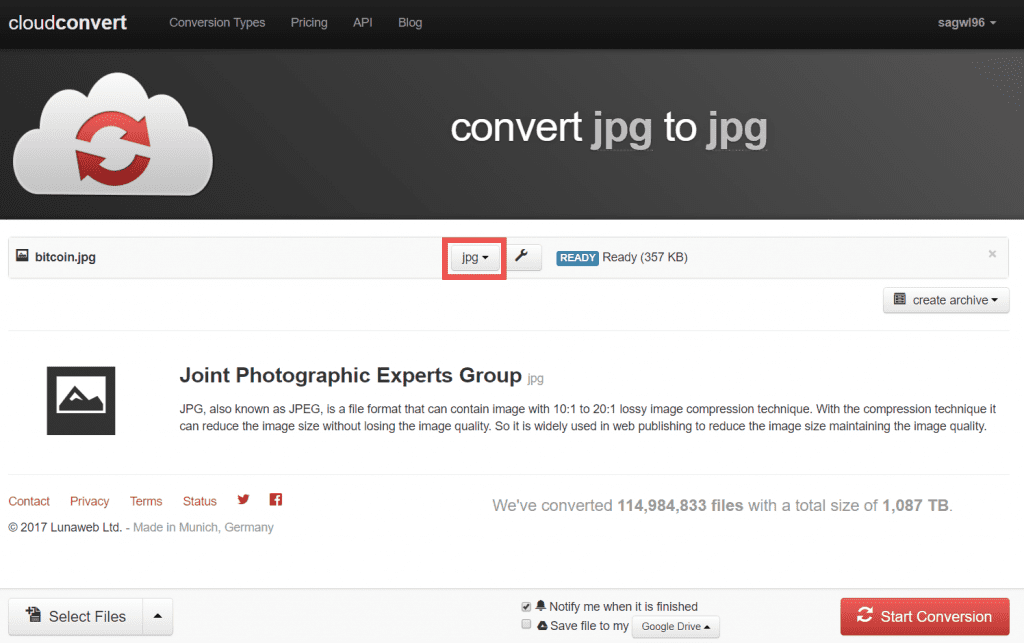
From the drop-down menu, you can select the available file types to convert to.
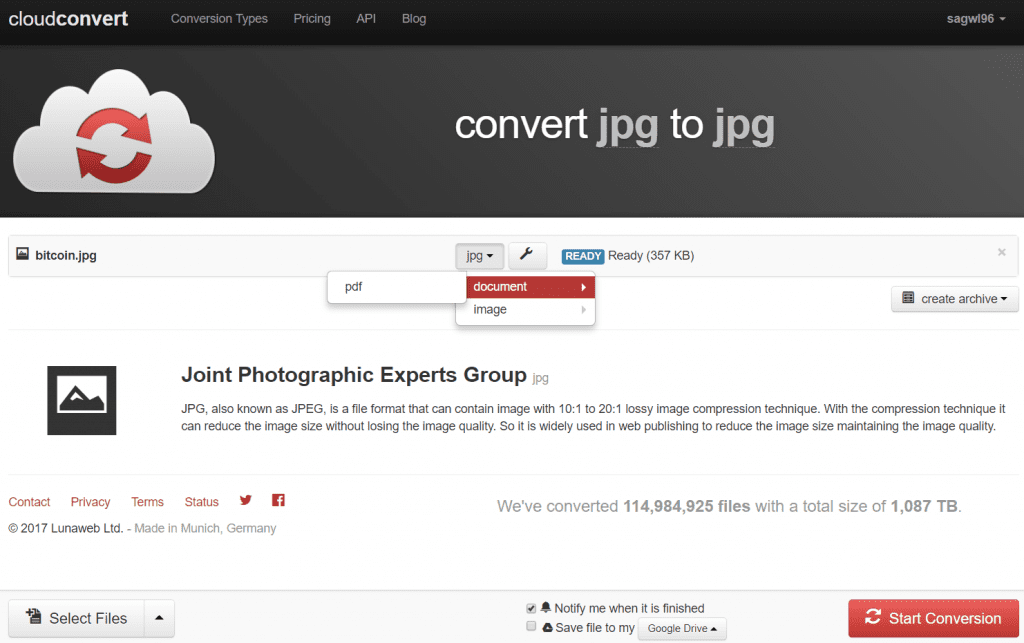
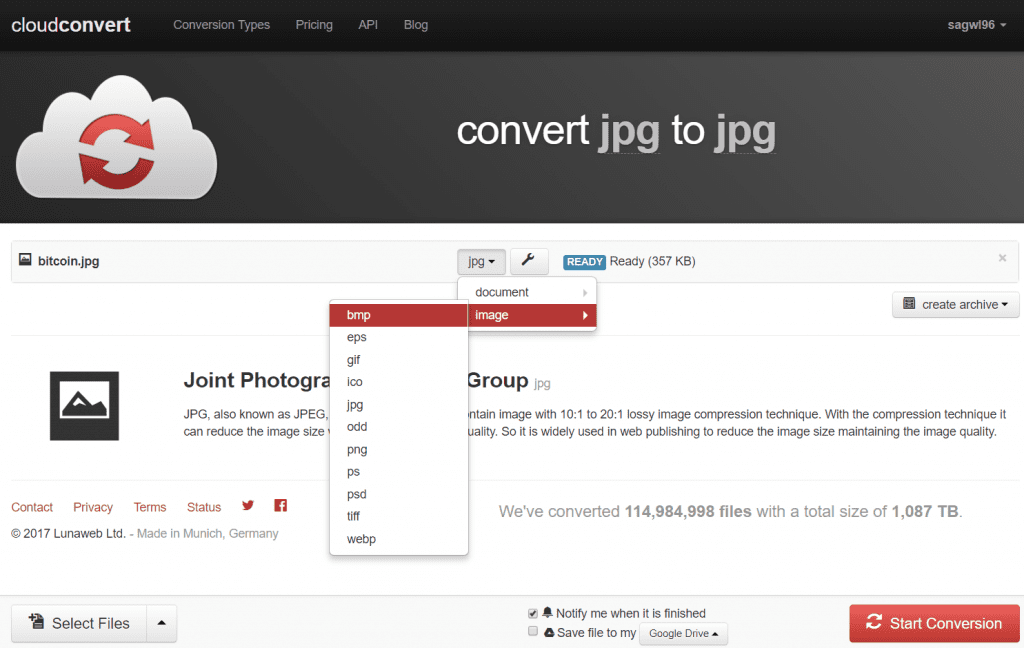
We are going to convert our jpg file to bmp. After you make the final selection, you should see something like the image below.
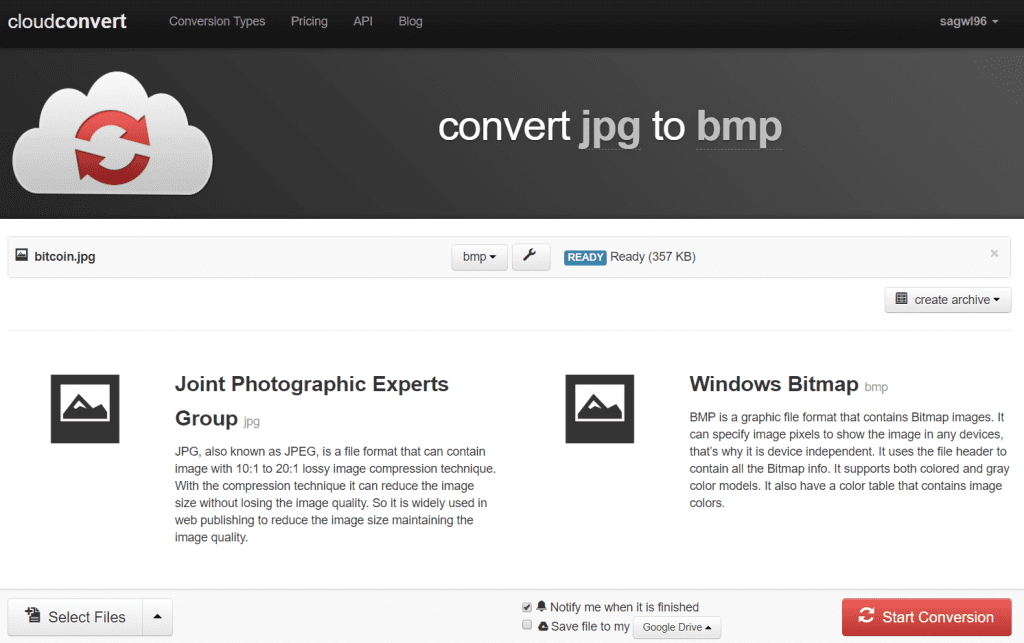
3. Just click on the big and red Start Conversion button on the bottom right side of the screen and your conversion will start.
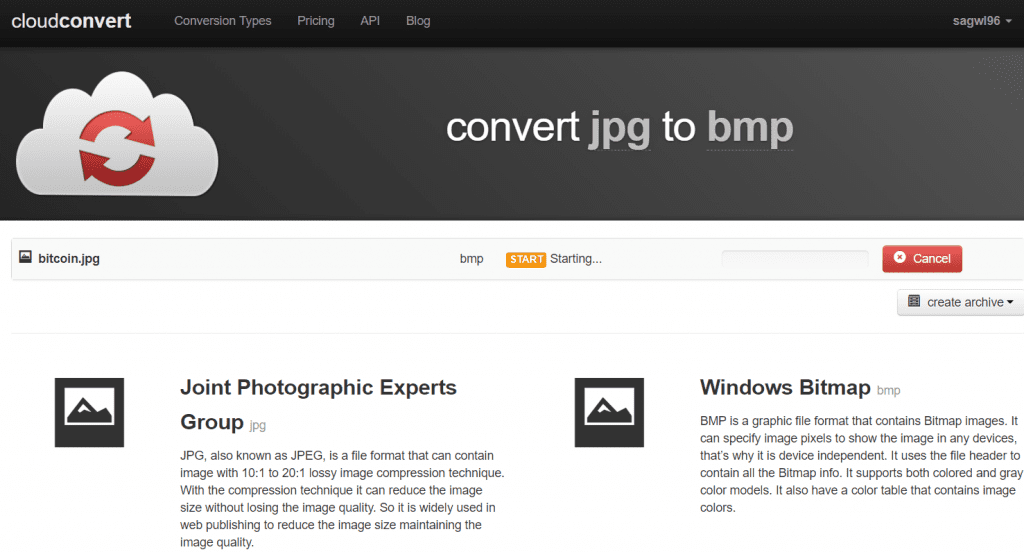
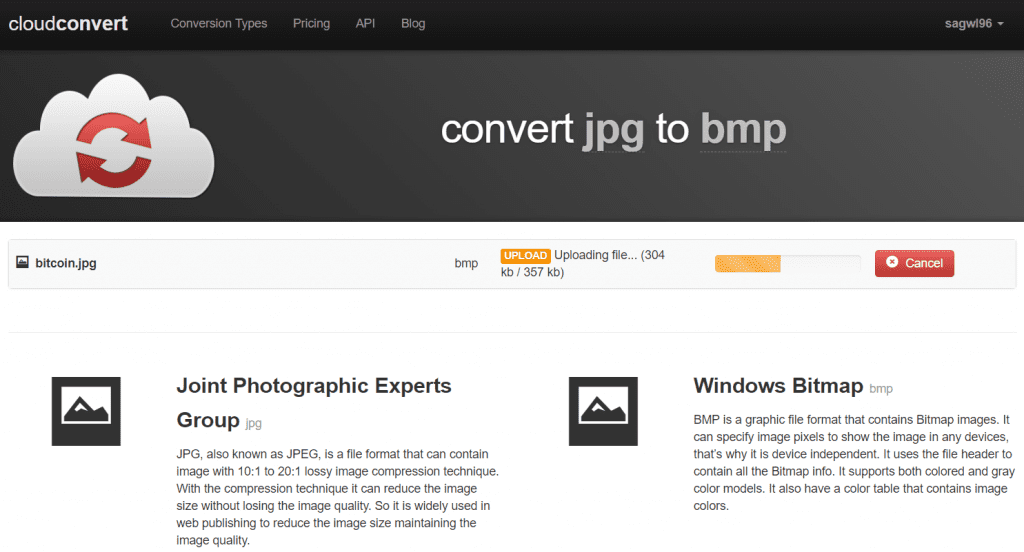
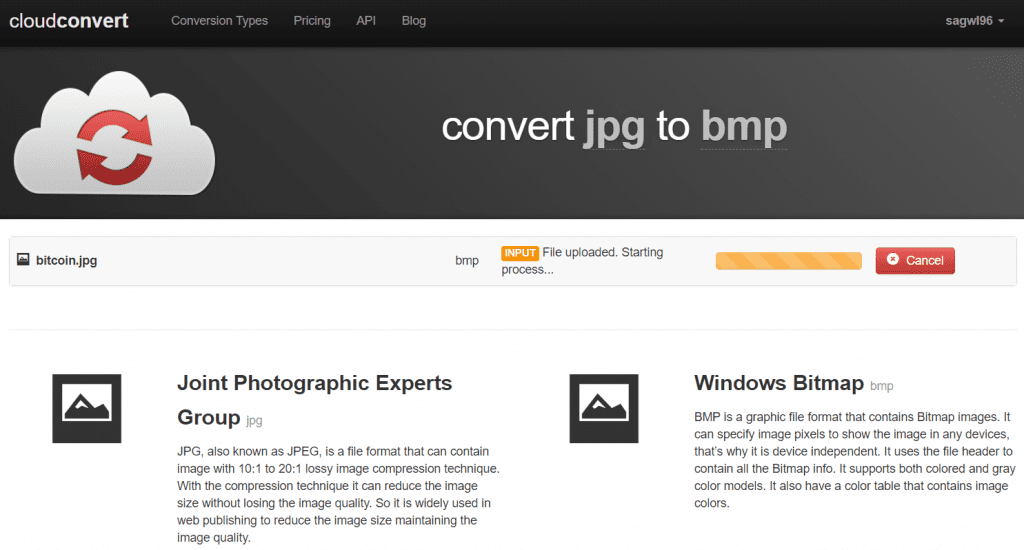
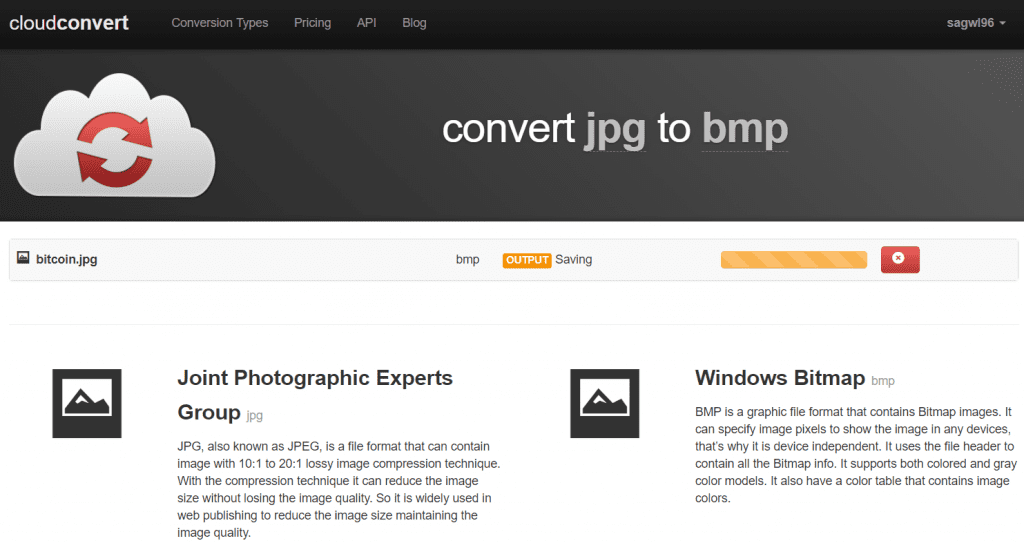
4. The process takes time to complete depending on the size of the file. Conversion time is also the method which is used to determine your usage of this service. We will come to that later. However, after the conversion is complete, you should see something like the image below.
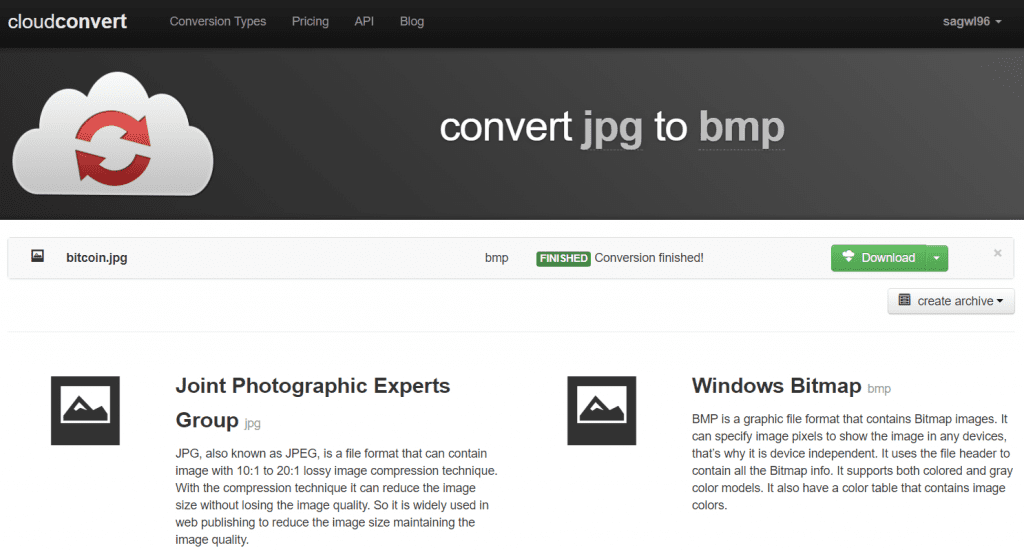
5. Simply click on the Download button and download the converted file.
We also recommend a professional desktop video converter – Wondershare UniConverter
Pricing
Now, this is something which may come as a bad news for some. The service is not entirely free of charge. At least not after the first 25 minutes of conversion. Under the Pricing tab, you will find the different models for using the conversion service. You get 25 minutes of conversion free in a single day. By minutes of conversion, the website describes it as actual time taken to convert the file. The minimum time is 1 minute which accounts for most images and pdf files. However, larger files like videos and audios will use up more time.
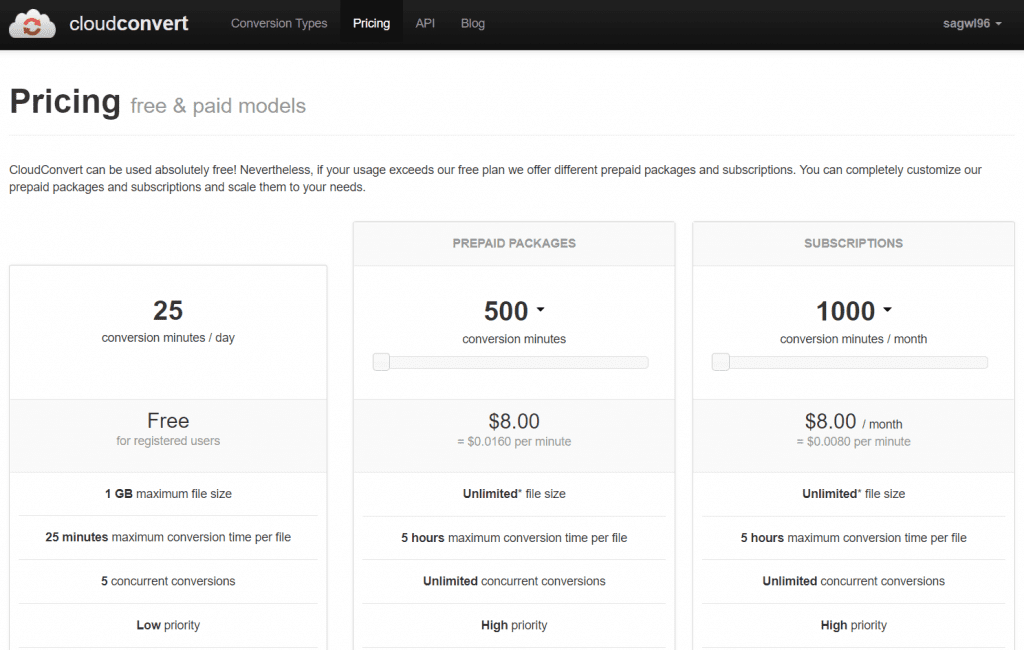
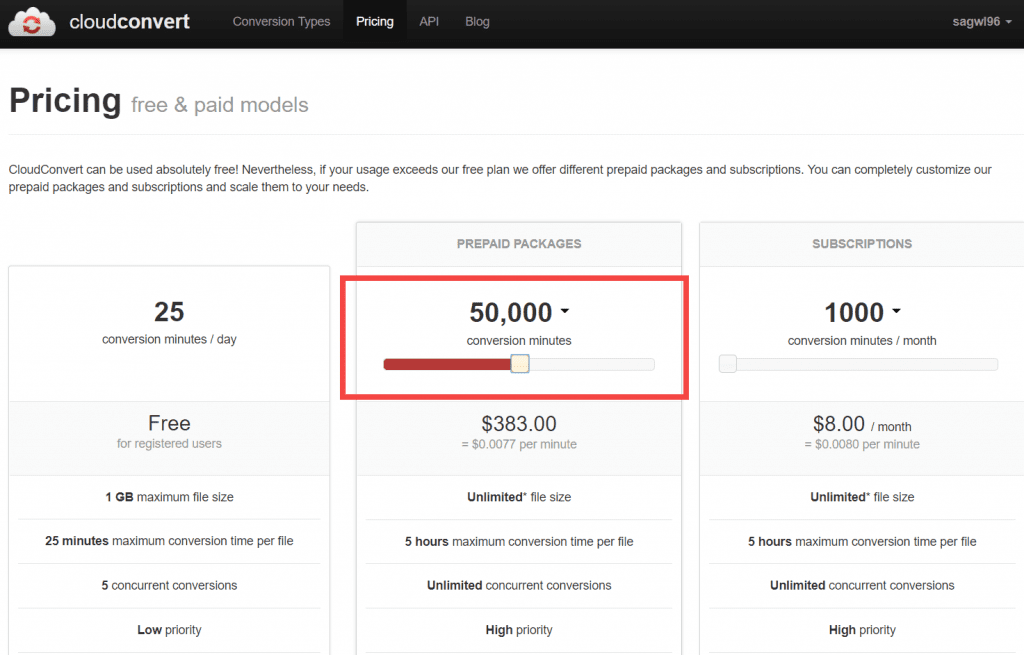
There are certain limitations or conditions. However, those shouldn’t pose a problem if one wants to convert an image or a pdf file once in a while. Apart from that, you also get to select your own package by adjusting the slider in the paid section.
Verdict
The conversion process with CloudConvert is hassle free and fast. Just the number of file types it supports makes it one of the best choices out there. Also, the option to directly upload and convert file from the cloud is also a pretty nifty feature. You also have the option to download the file in the form of an archive. If these features are not enough to move you, then we would like to inform you that you can use the website to convert efficiently even from your smartphone. The entire process is essentially the same.
Also read: Convert any file format to different file format online | Best Video Converter


