Kodi is a cross-platform media player which is as powerful in any other system as in Windows. It is also able to run on Linux. However, due to unfamiliarity with Linux systems, people feel daunted when it comes to installing programs. And this feeling doesn’t help if you want to install Kodi on a Linux distribution. There is nothing to fear as today we are going to show you how to install Kodi on a Linux machine.
Also Read: 15 Best Kodi Addons to try in 2018
Process to Install Kodi
Preparing the Linux System
Before starting the actual installation process of Kodi on your Linux system, it is better to update the existing packages so as to avoid any unnecessary error during installation. You can do this by following the process as described below. Images have been provided in order to ease the process and eliminate confusion.
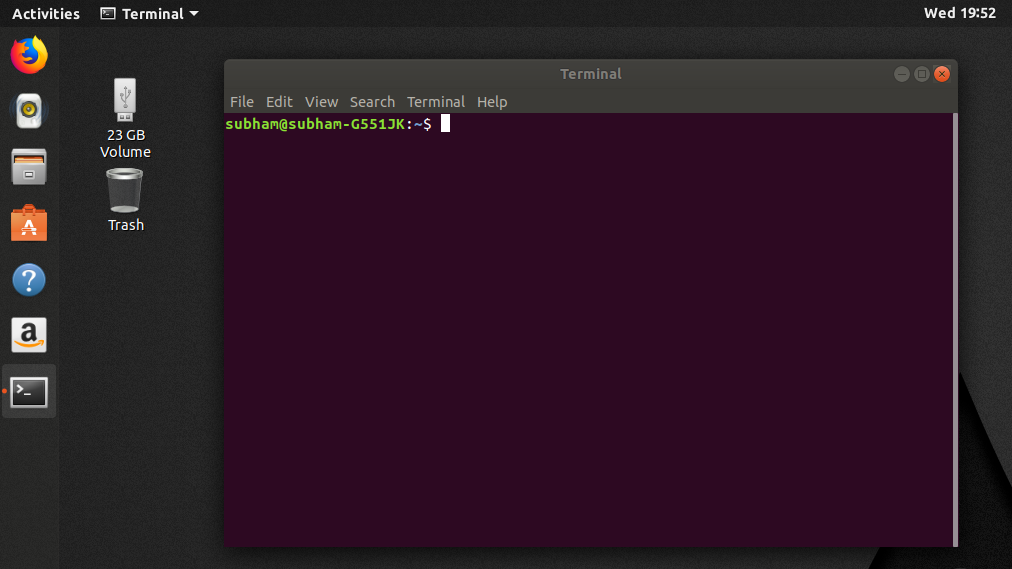
- After booting into your Linux machine, make sure that it is connected to the internet and open the terminal (Press Alt + Ctrl + T). Terminal is the window where you type in commands to execute. We are going to use a terminal in order to install Kodi and as you will see, it is a fairly easy process and saves us a lot of time.
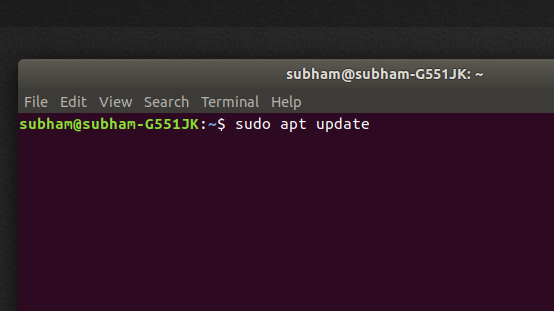
Linux-terminal - Type “sudo apt update” (without the quotation marks) and press the Enter key.
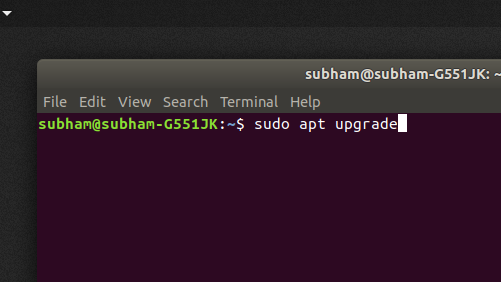
sudo-apt-update - After the process finishes, type “sudo apt upgrade” (without the quotation marks) and hit the Enter key. When asked to continue, type Y and hit Enter Key.
sudo-apt-upgrade
After letting the process finish, you will be ready to actually install Kodi on your Linux system.
Installing Kodi
Just like the process above, installing Kodi requires typing a couple of commands in the terminal and waiting for the process to finish and thus, there is no rocket science in it. Let us begin:
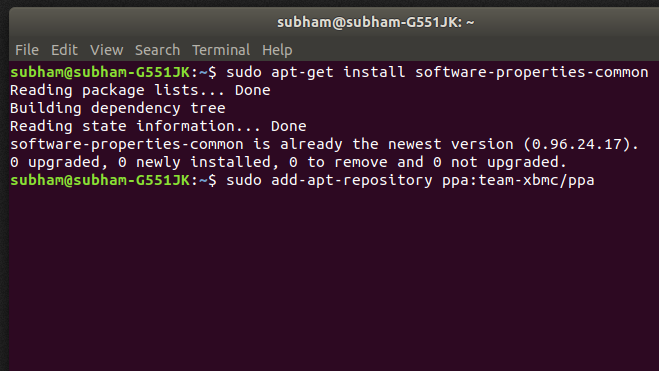
- First, start by opening the terminal if not already done and type in the following command and hit the Enter key:
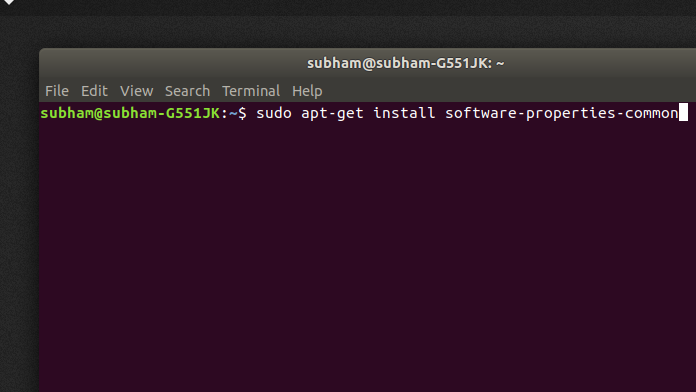
sudo apt-get install software-properties-common
Installing – command 1 - After the process is done, proceed by entering the following command and pressing the Enter Key:
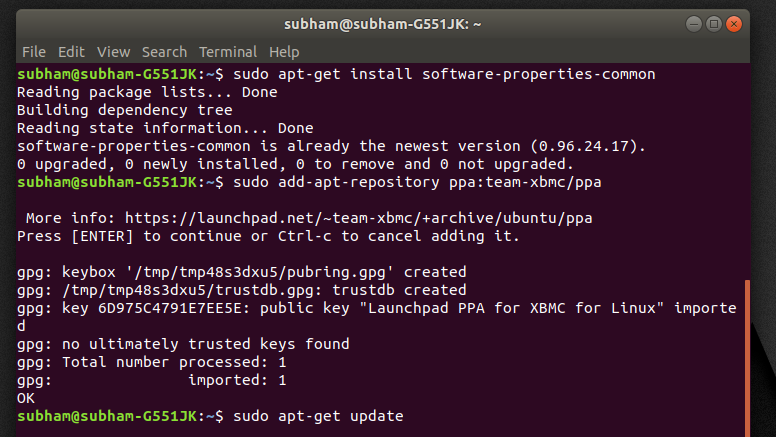
sudo add-apt-repository ppa:team-xbmc/ppa
Installing – command 2 Click on Enter when prompted and wait for the process to finish.
- Next, enter the following commands and press Enter to continue with the process:
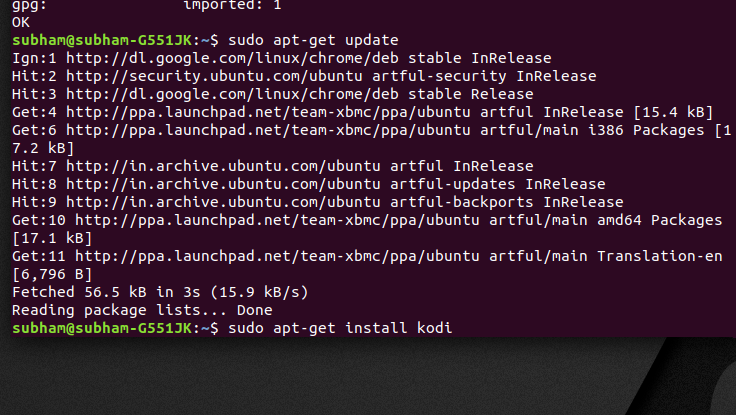
sudo apt-get update
Installing – command 3 - Type in the following command and press Enter key to continue after “reading package lists” is done. And you would be happy to know that it is the last command you need to enter.
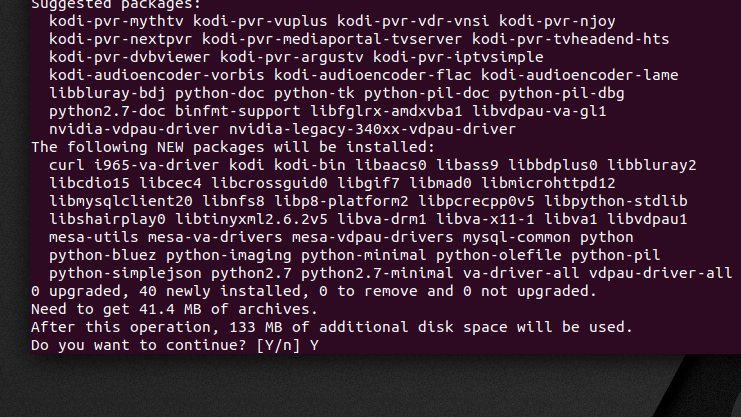
sudo apt-get install kodi
Installing – command 4 - After the process completes, it will ask for confirmation to download the package. Type Y and hit Enter to download.
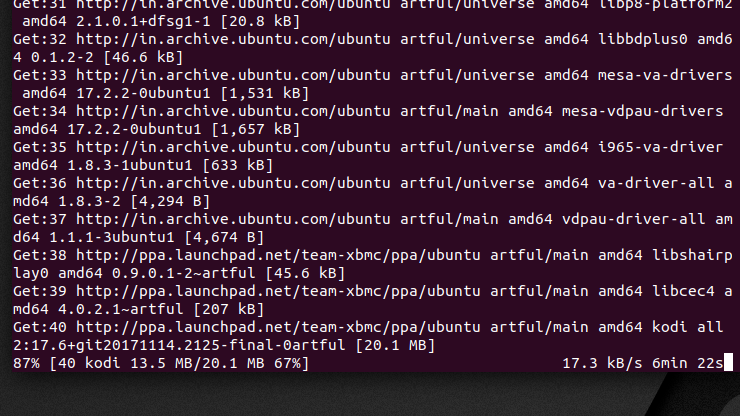
Installation size - The file is of about 40 MB and will take a couple of minutes to download which is based on your internet connection’s speed.
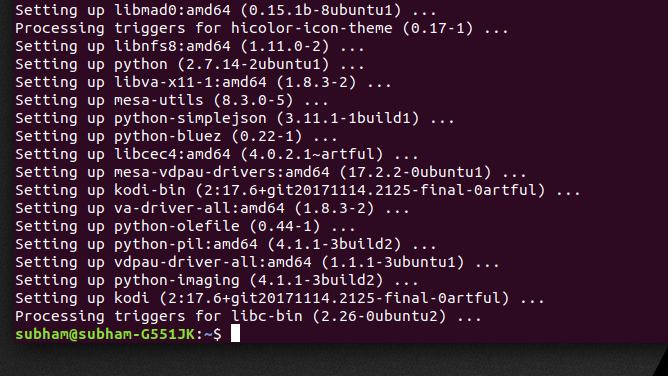
Installation progress - After the download completes, installation will begin immediately. You will be glad to know that your work is done and you just need to sit back and relax at this point in time. Installation should finish in a couple of minutes and something like the image below will be displayed.
Installation complete
This marks the end of the installation process of Kodi on your Linux system. We have walked you through the process on a machine running Ubuntu but it should work for any other Linux distribution all the same.
Starting and Exploring Kodi on Linux
If you don’t see a Kodi icon on your desktop then don’t fear. You haven’t done anything wrong during the installation process. Just open up the applications bar and search for Kodi by typing in the search bar. You will see an icon as shown below. This is your installed Kodi.
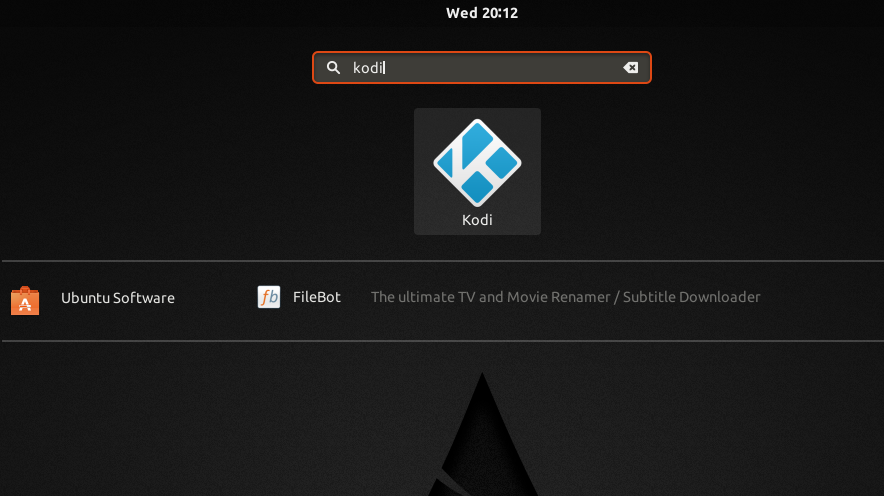
Simply click on the icon and it will bring you to the all familiar Kodi interface with the default skin.
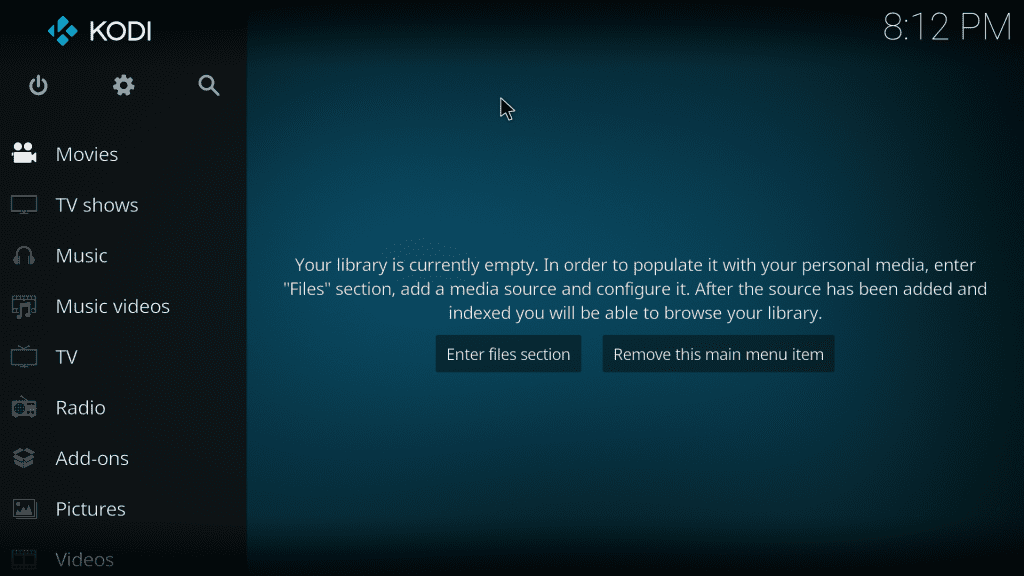
However, keep in mind that the official version of Kodi has no content. But, it allows installation of third party add-ons which is where its strength lies. You can change its interface to better suit your tastes and style. We have provided a link at the end of the article for best Kodi skins.
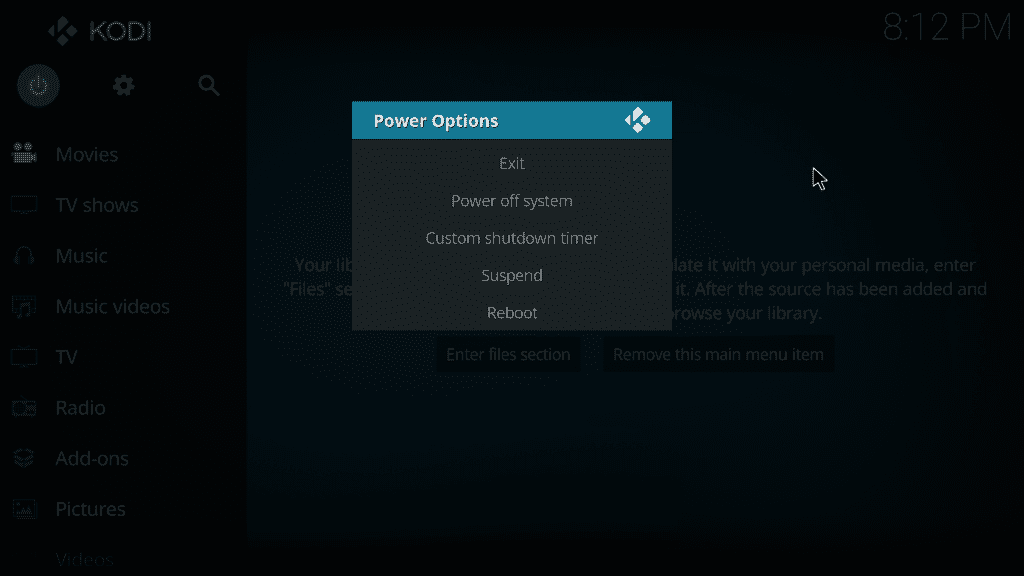
There is one more thing to take note of and that is there are additional items in the Power Options menu. This is the courtesy of Linux system which allows for direct control from power options itself.
The Gist
Installing Kodi on a Linux distribution is not at all a difficult task. However, using the terminal can become overwhelming for some people.But, with the step-by-step process mentioned above, there should be no problem for you to complete the installation process on your Linux distribution.
Also read: List of 12 Best Kodi Skins
